Vegan No-Churn Pineapple-Lemon Gelato

P1190971

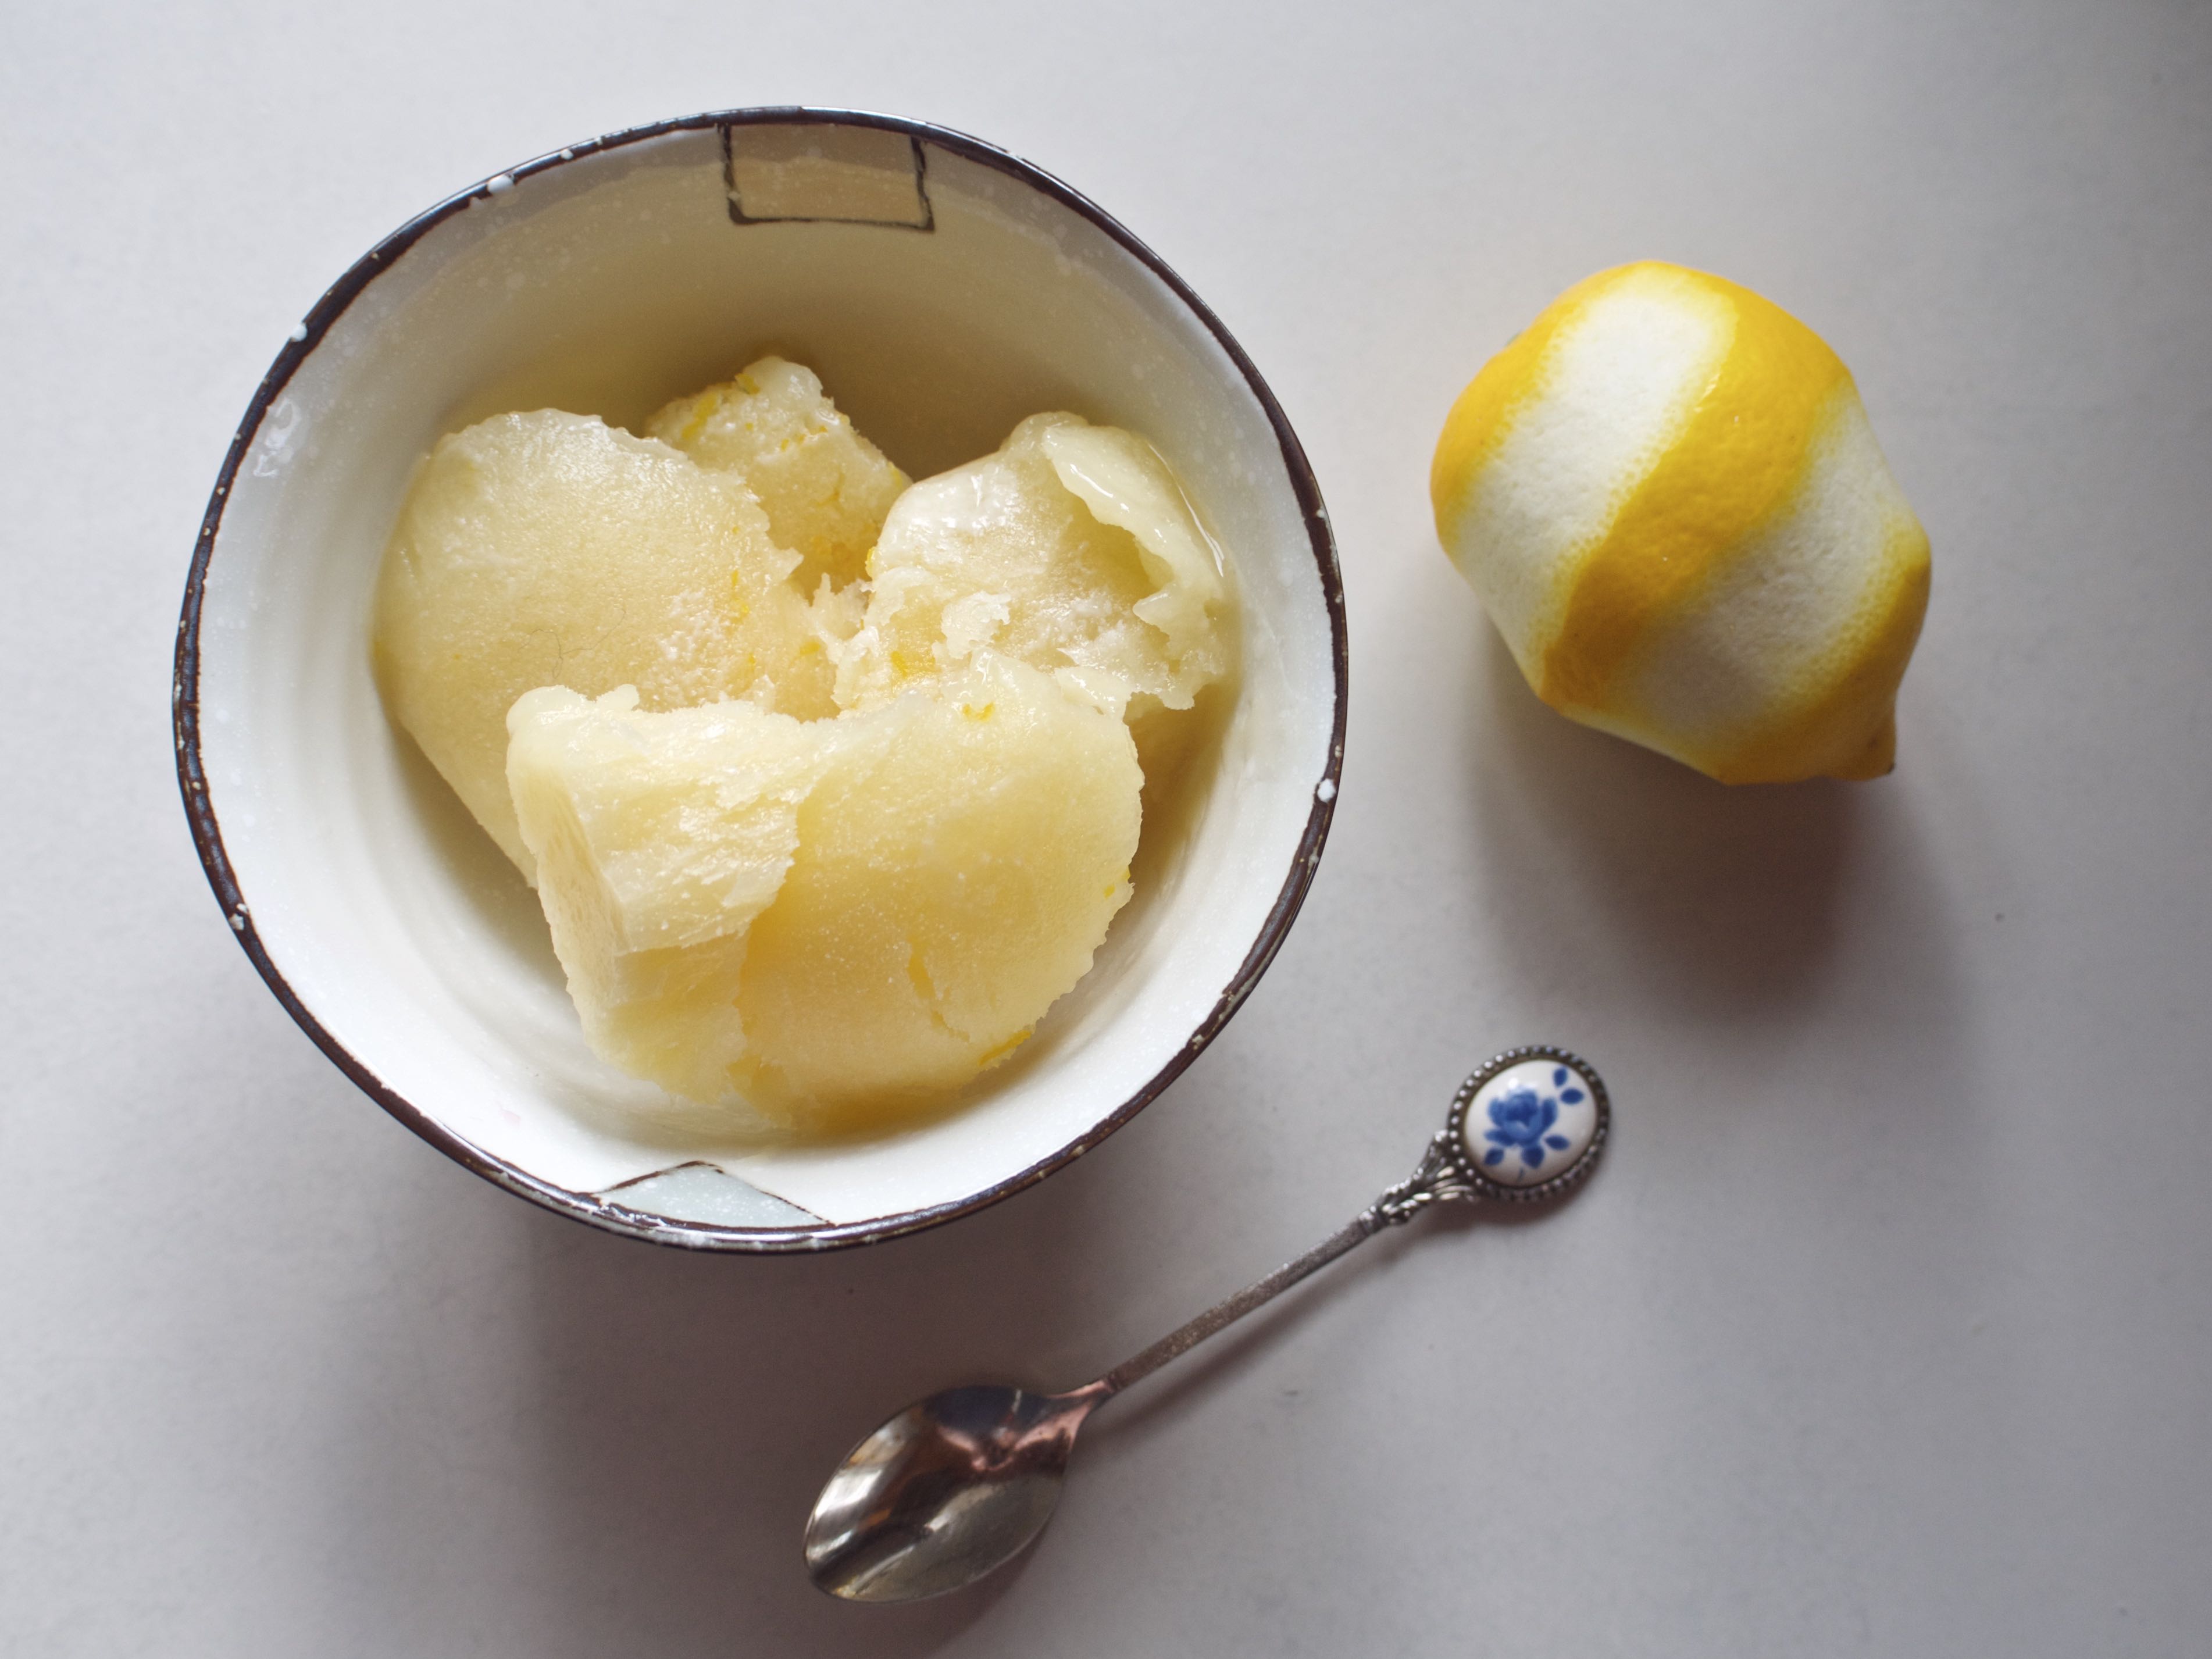
This frozen dessert occupies a space somewhere between sorbet and ice cream — it’s opaquely, mildly creamy, and yet icily brisk and refreshing — and so, with the kind of abject, disrespectful non-authenticity which I seem particularly intent on applying to Italian cuisine only, I’ve called it gelato. It’s inspired by this wonderful lemon curd recipe which I devised last year, with three key components: the pineapple juice for buttery zing and general lengthening, a cornflour-based custard for smooth texture, and a little raw cacao butter for body, richness, and to bevel out the water content.

Unlike with the lemon curd, you really can taste the pineapple when it’s used here, but I decided — once I realised this — that it was intentional. Pineapple and lemon frozen together taste like cold distilled sunshine, with the sugar content somehow making the lemon even more sour, and vice versa. A truly delightful combination.

P1190968

As with all my recipes of this nature, this Pineapple-Lemon Gelato doesn’t require an ice cream maker — and I will never cease my objections against Big Ice Cream Maker — you don’t even have to stir or blend it as it freezes, that’s how well-behaved the recipe is. However, the key to success here is to cool the mixture very slowly — first on the bench, and then in the fridge. This allows the cacao butter content to gradually solidify without separating out, plus you can say the gelato has been “aged” to improve the flavour, as though it’s a twenty-dollar bottle of wine or a rare cheese. Neither of these outcomes is based on any scientific knowledge — just wild guesswork and following my heart — but the method worked for me.

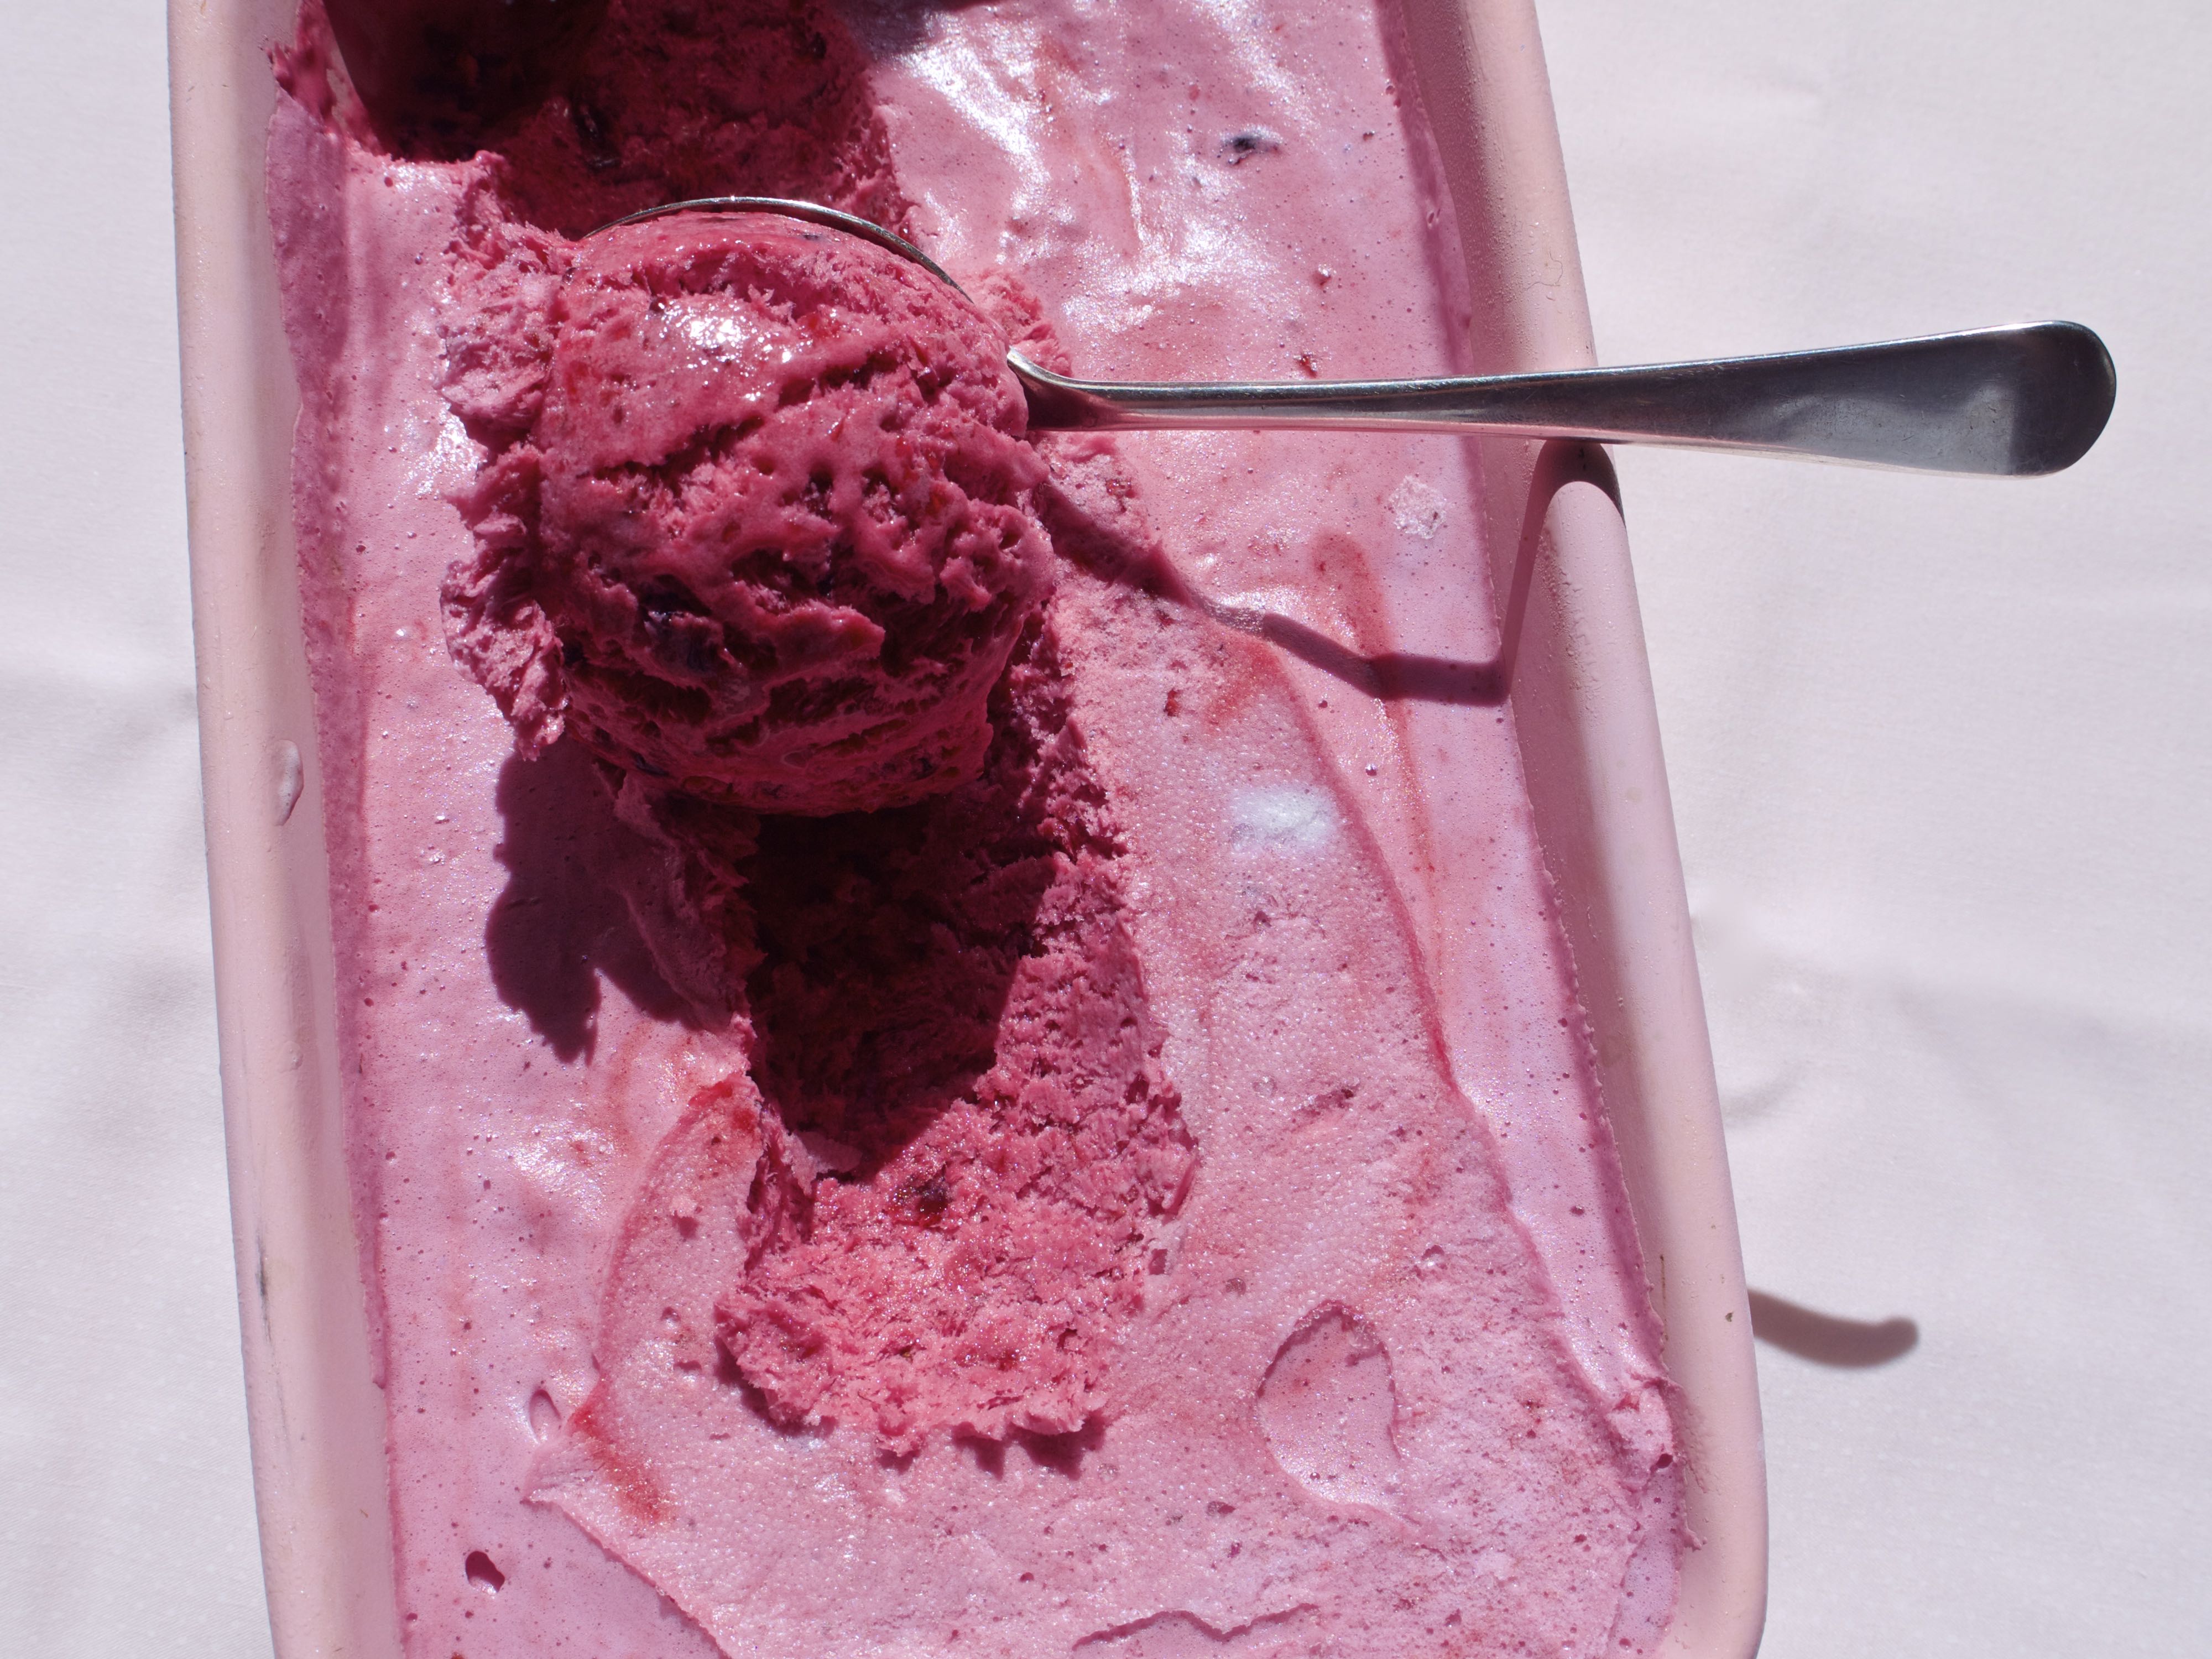
If being self-satisfied about making a recipe based on another recipe I made up isn’t enough, I also have an alternative ice cream recipe for you that’s even easier than this gelato — the fluffy, soft, rich no-churn Berry Ice Cream that I made for Tenderly, published this week. If making custard and sourcing cacao butter feels like too much effort, all this ice cream uses is a bit of fruit, some sugar, and the aquafaba from a can of chickpeas. And it tastes like a dream.
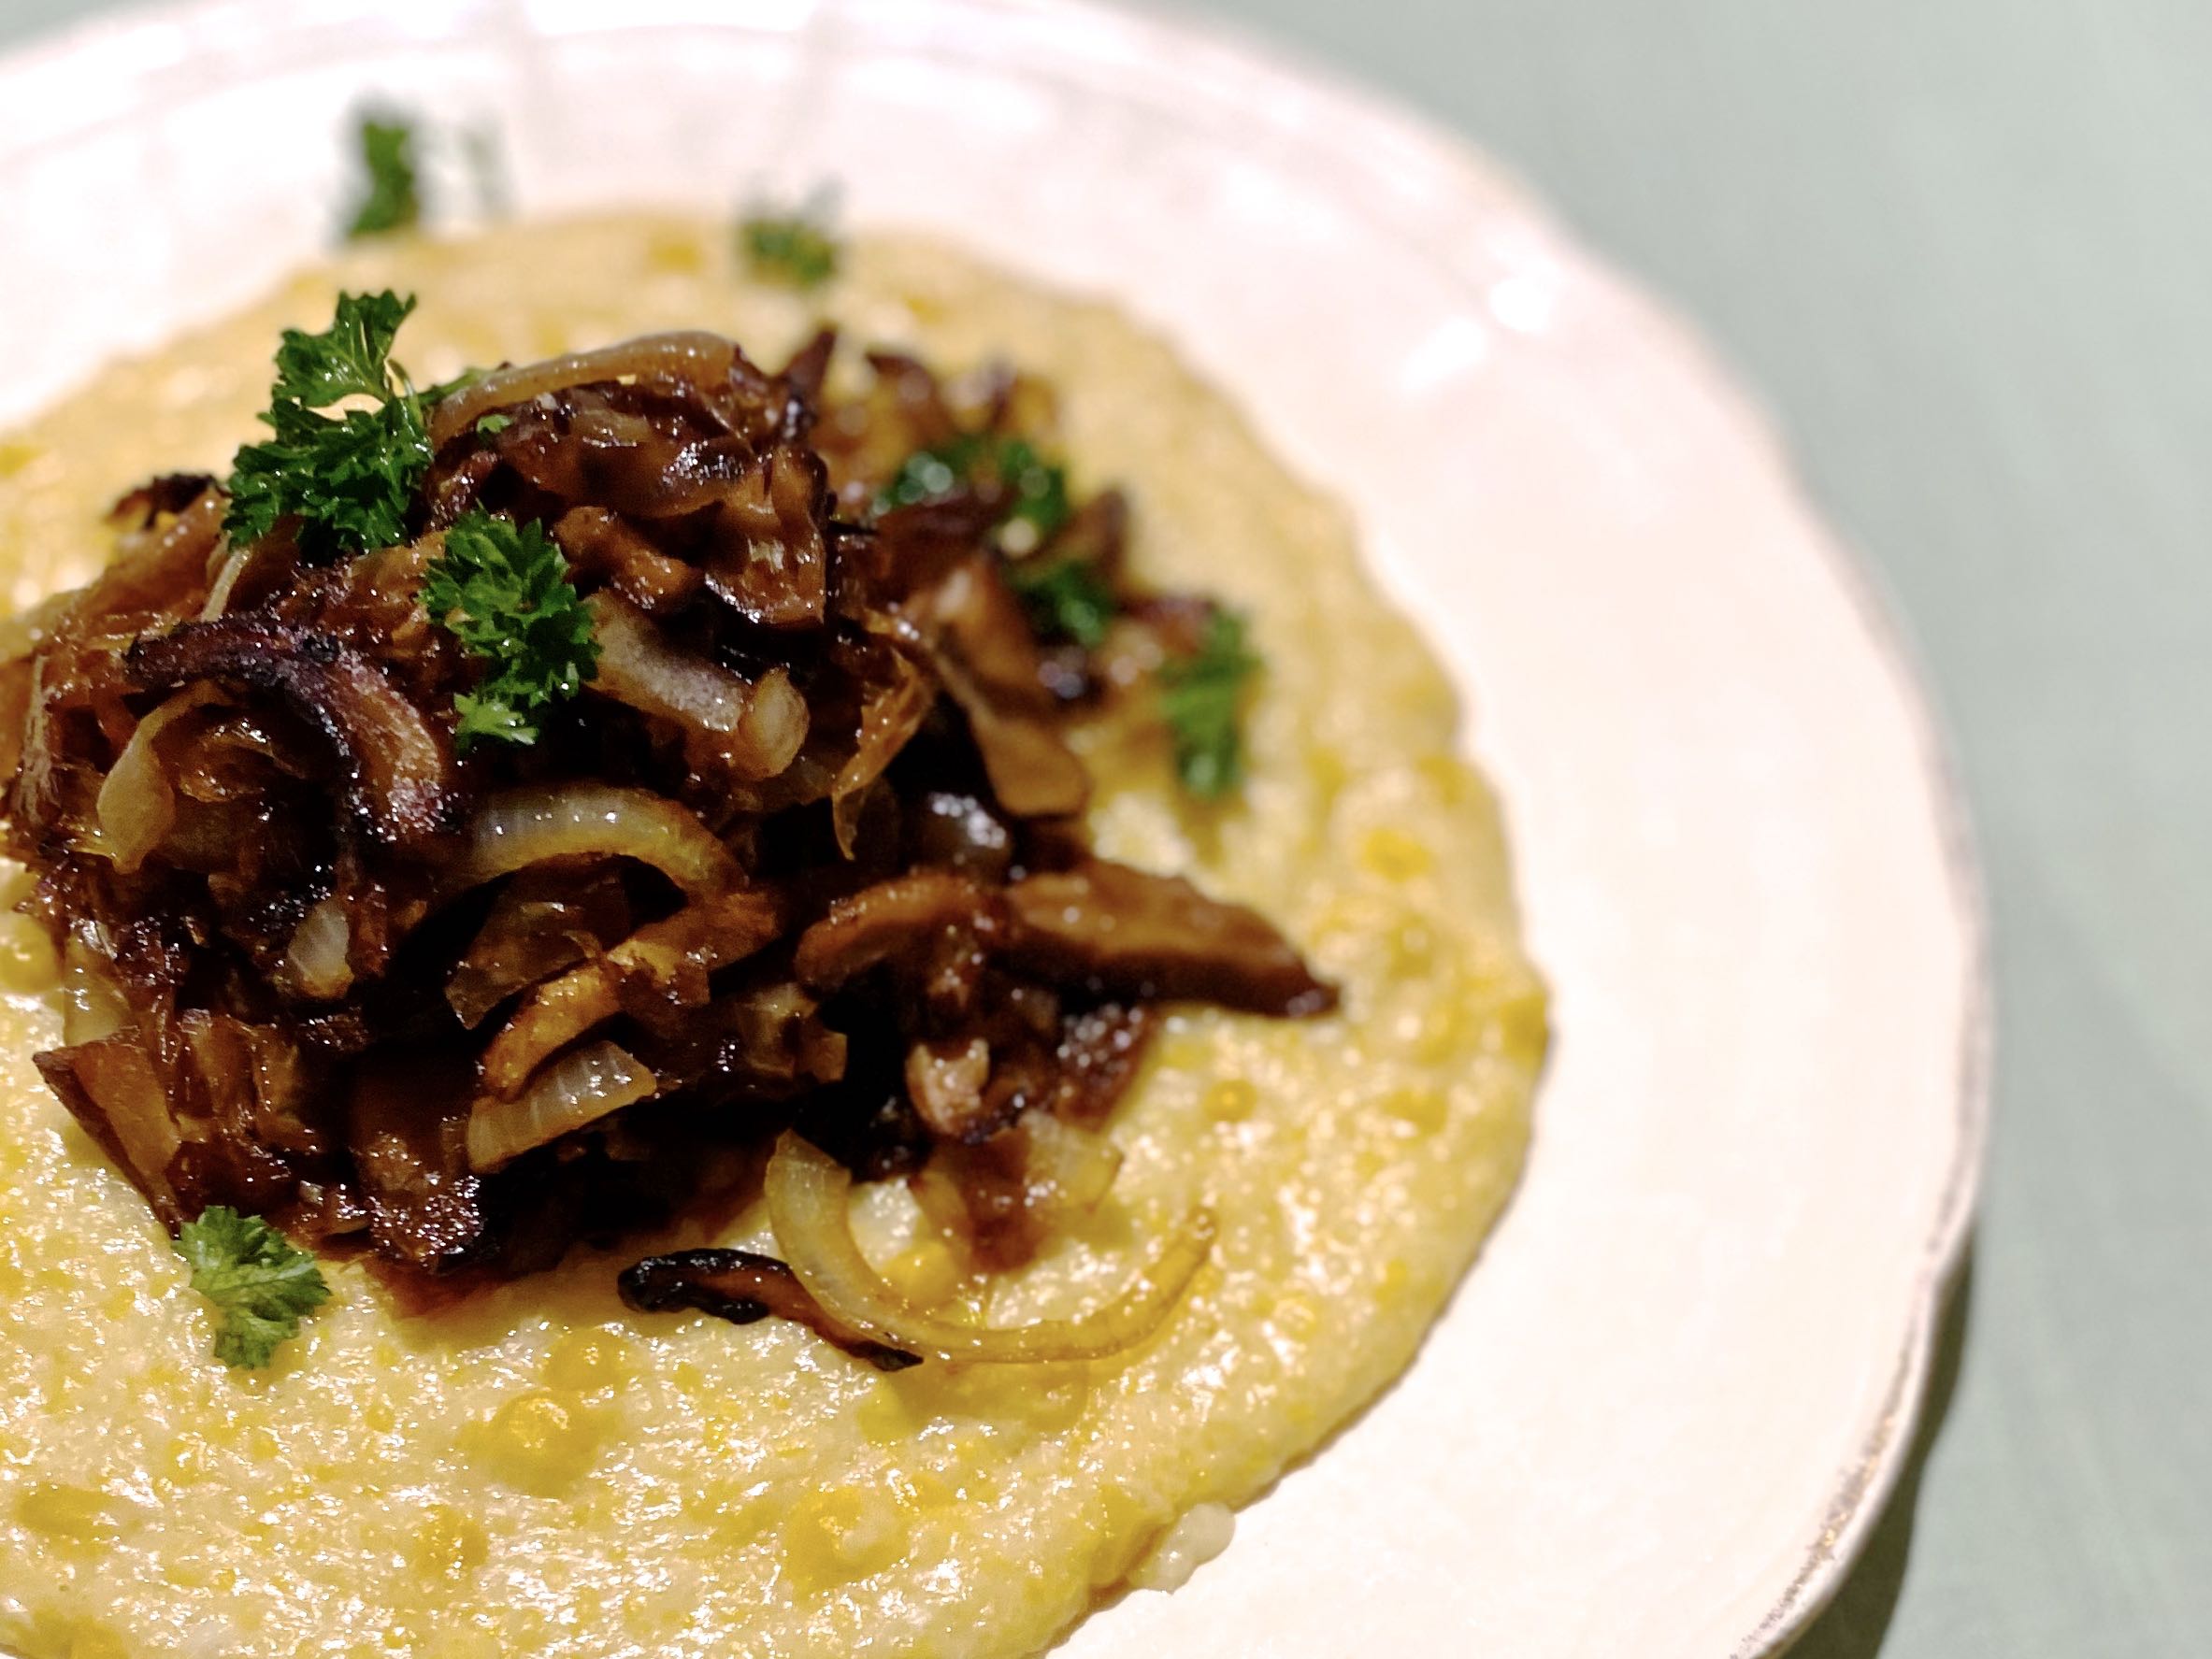
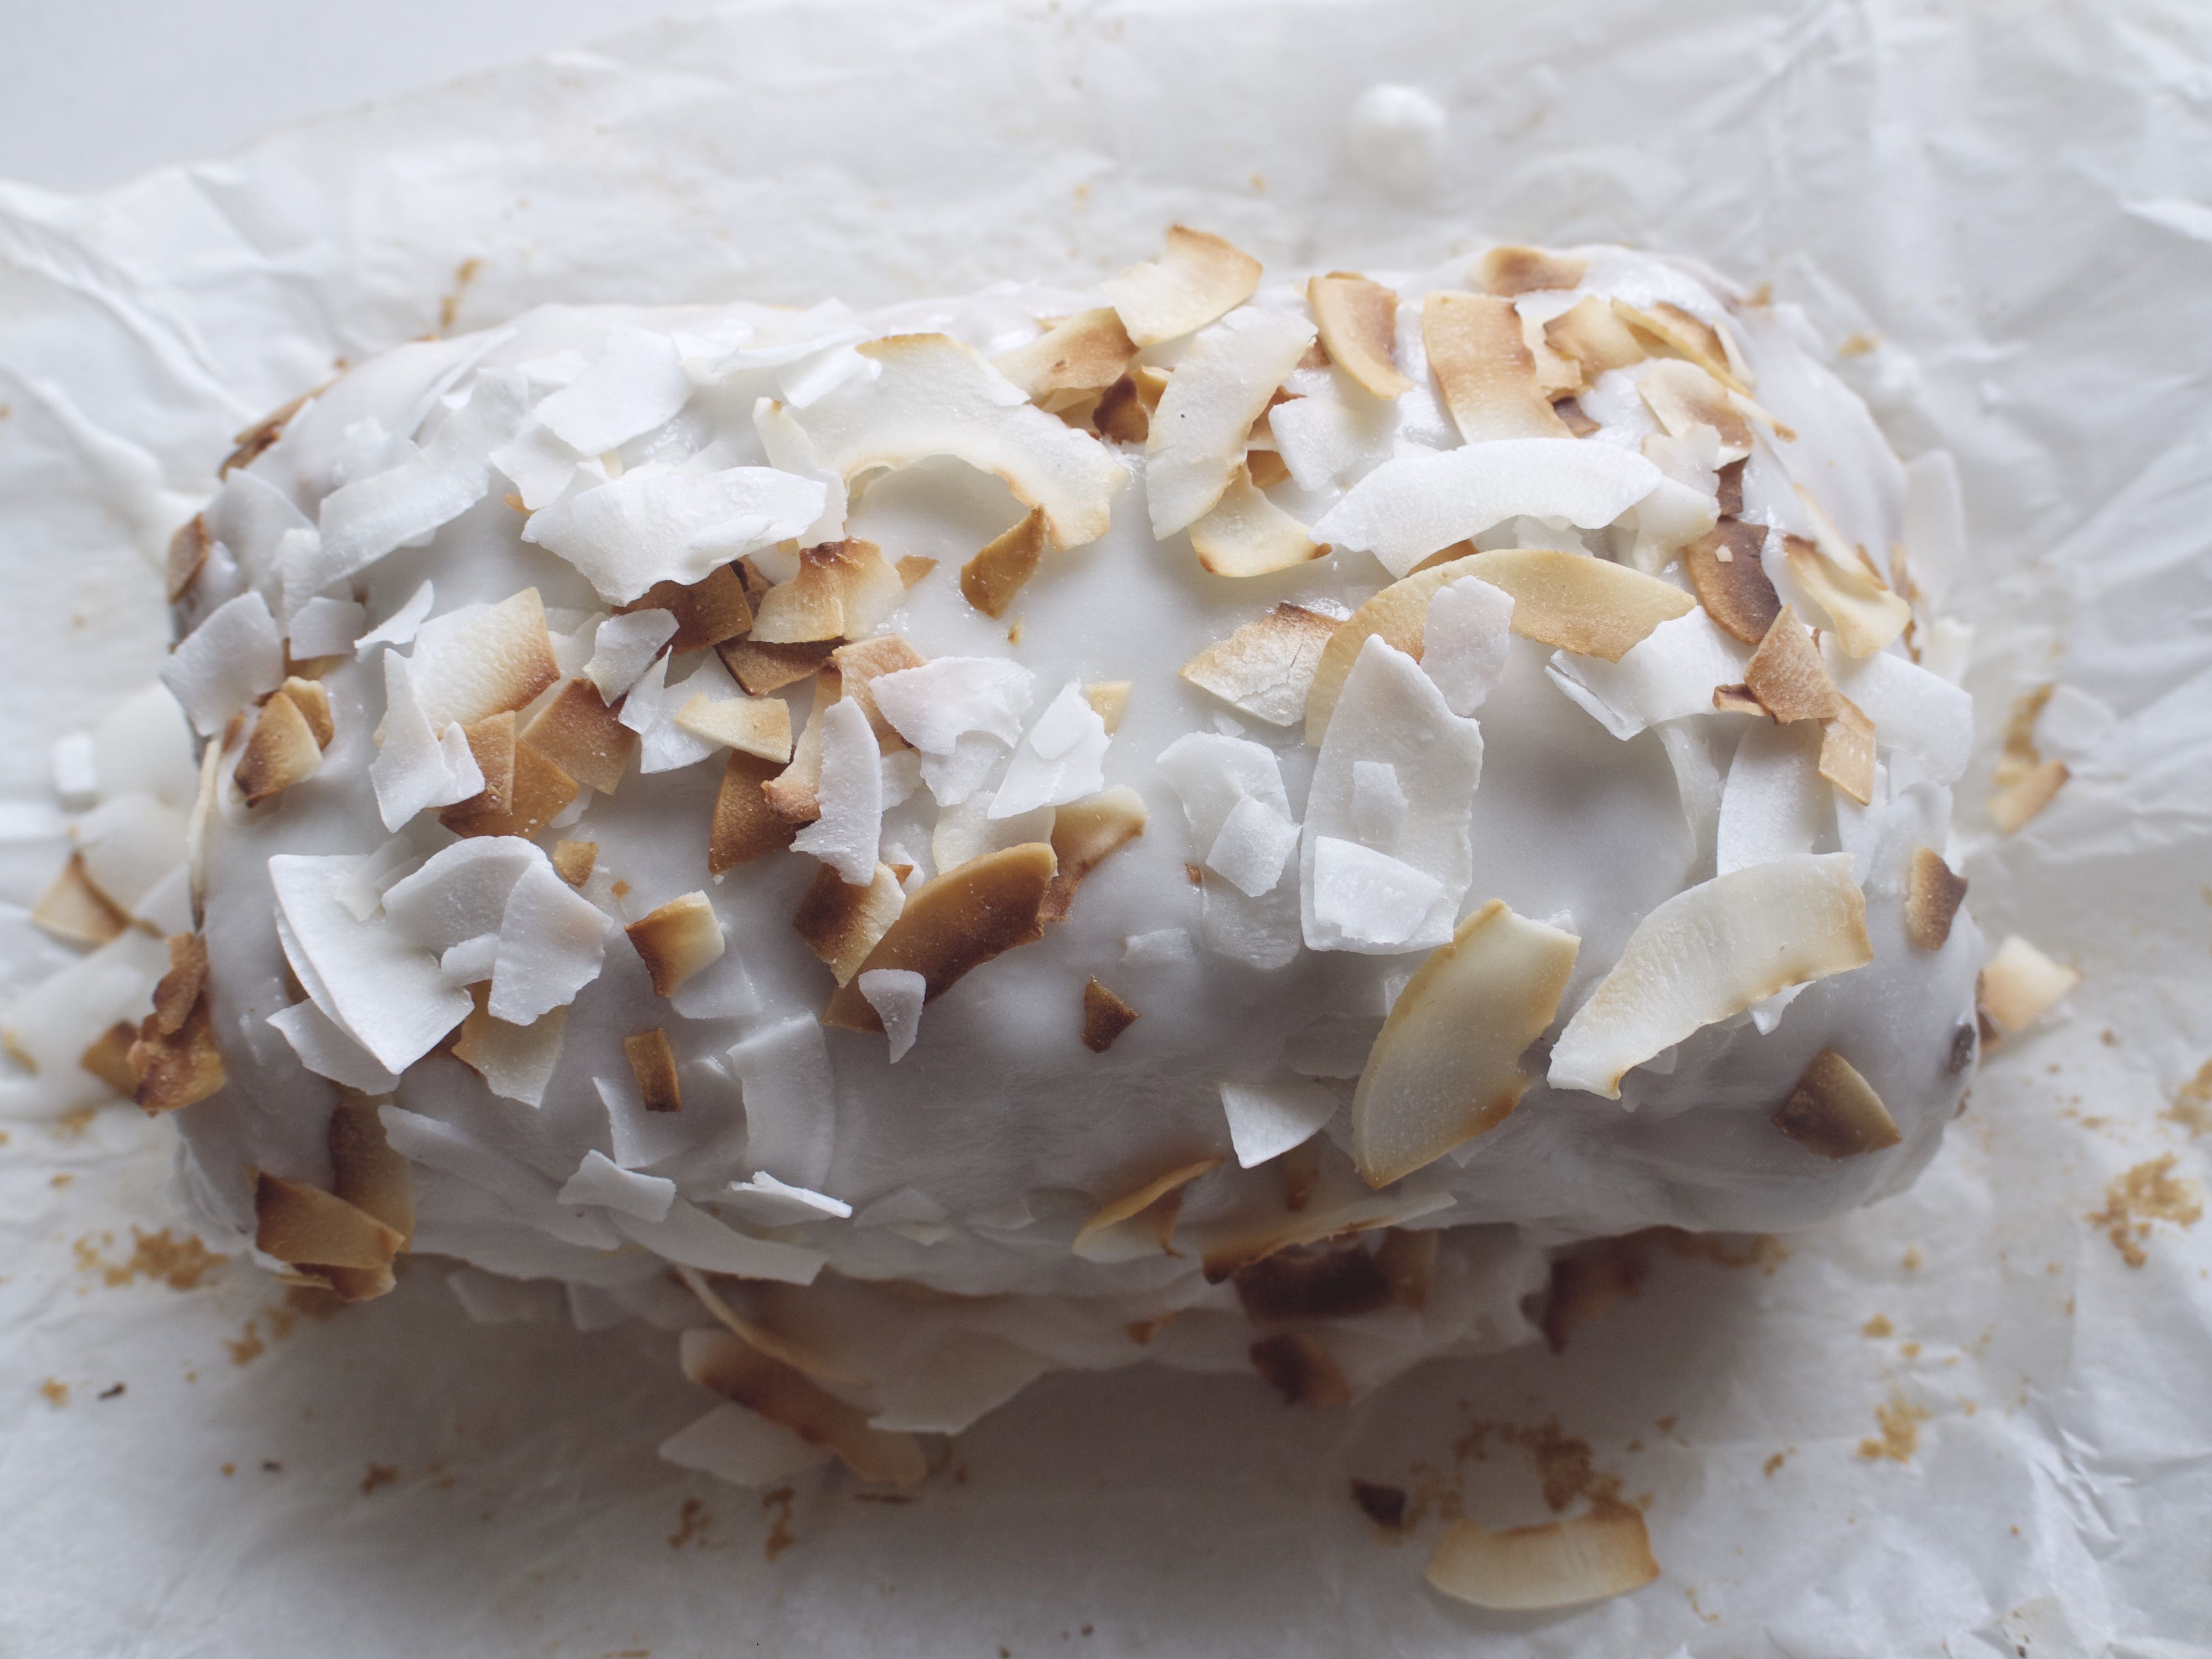
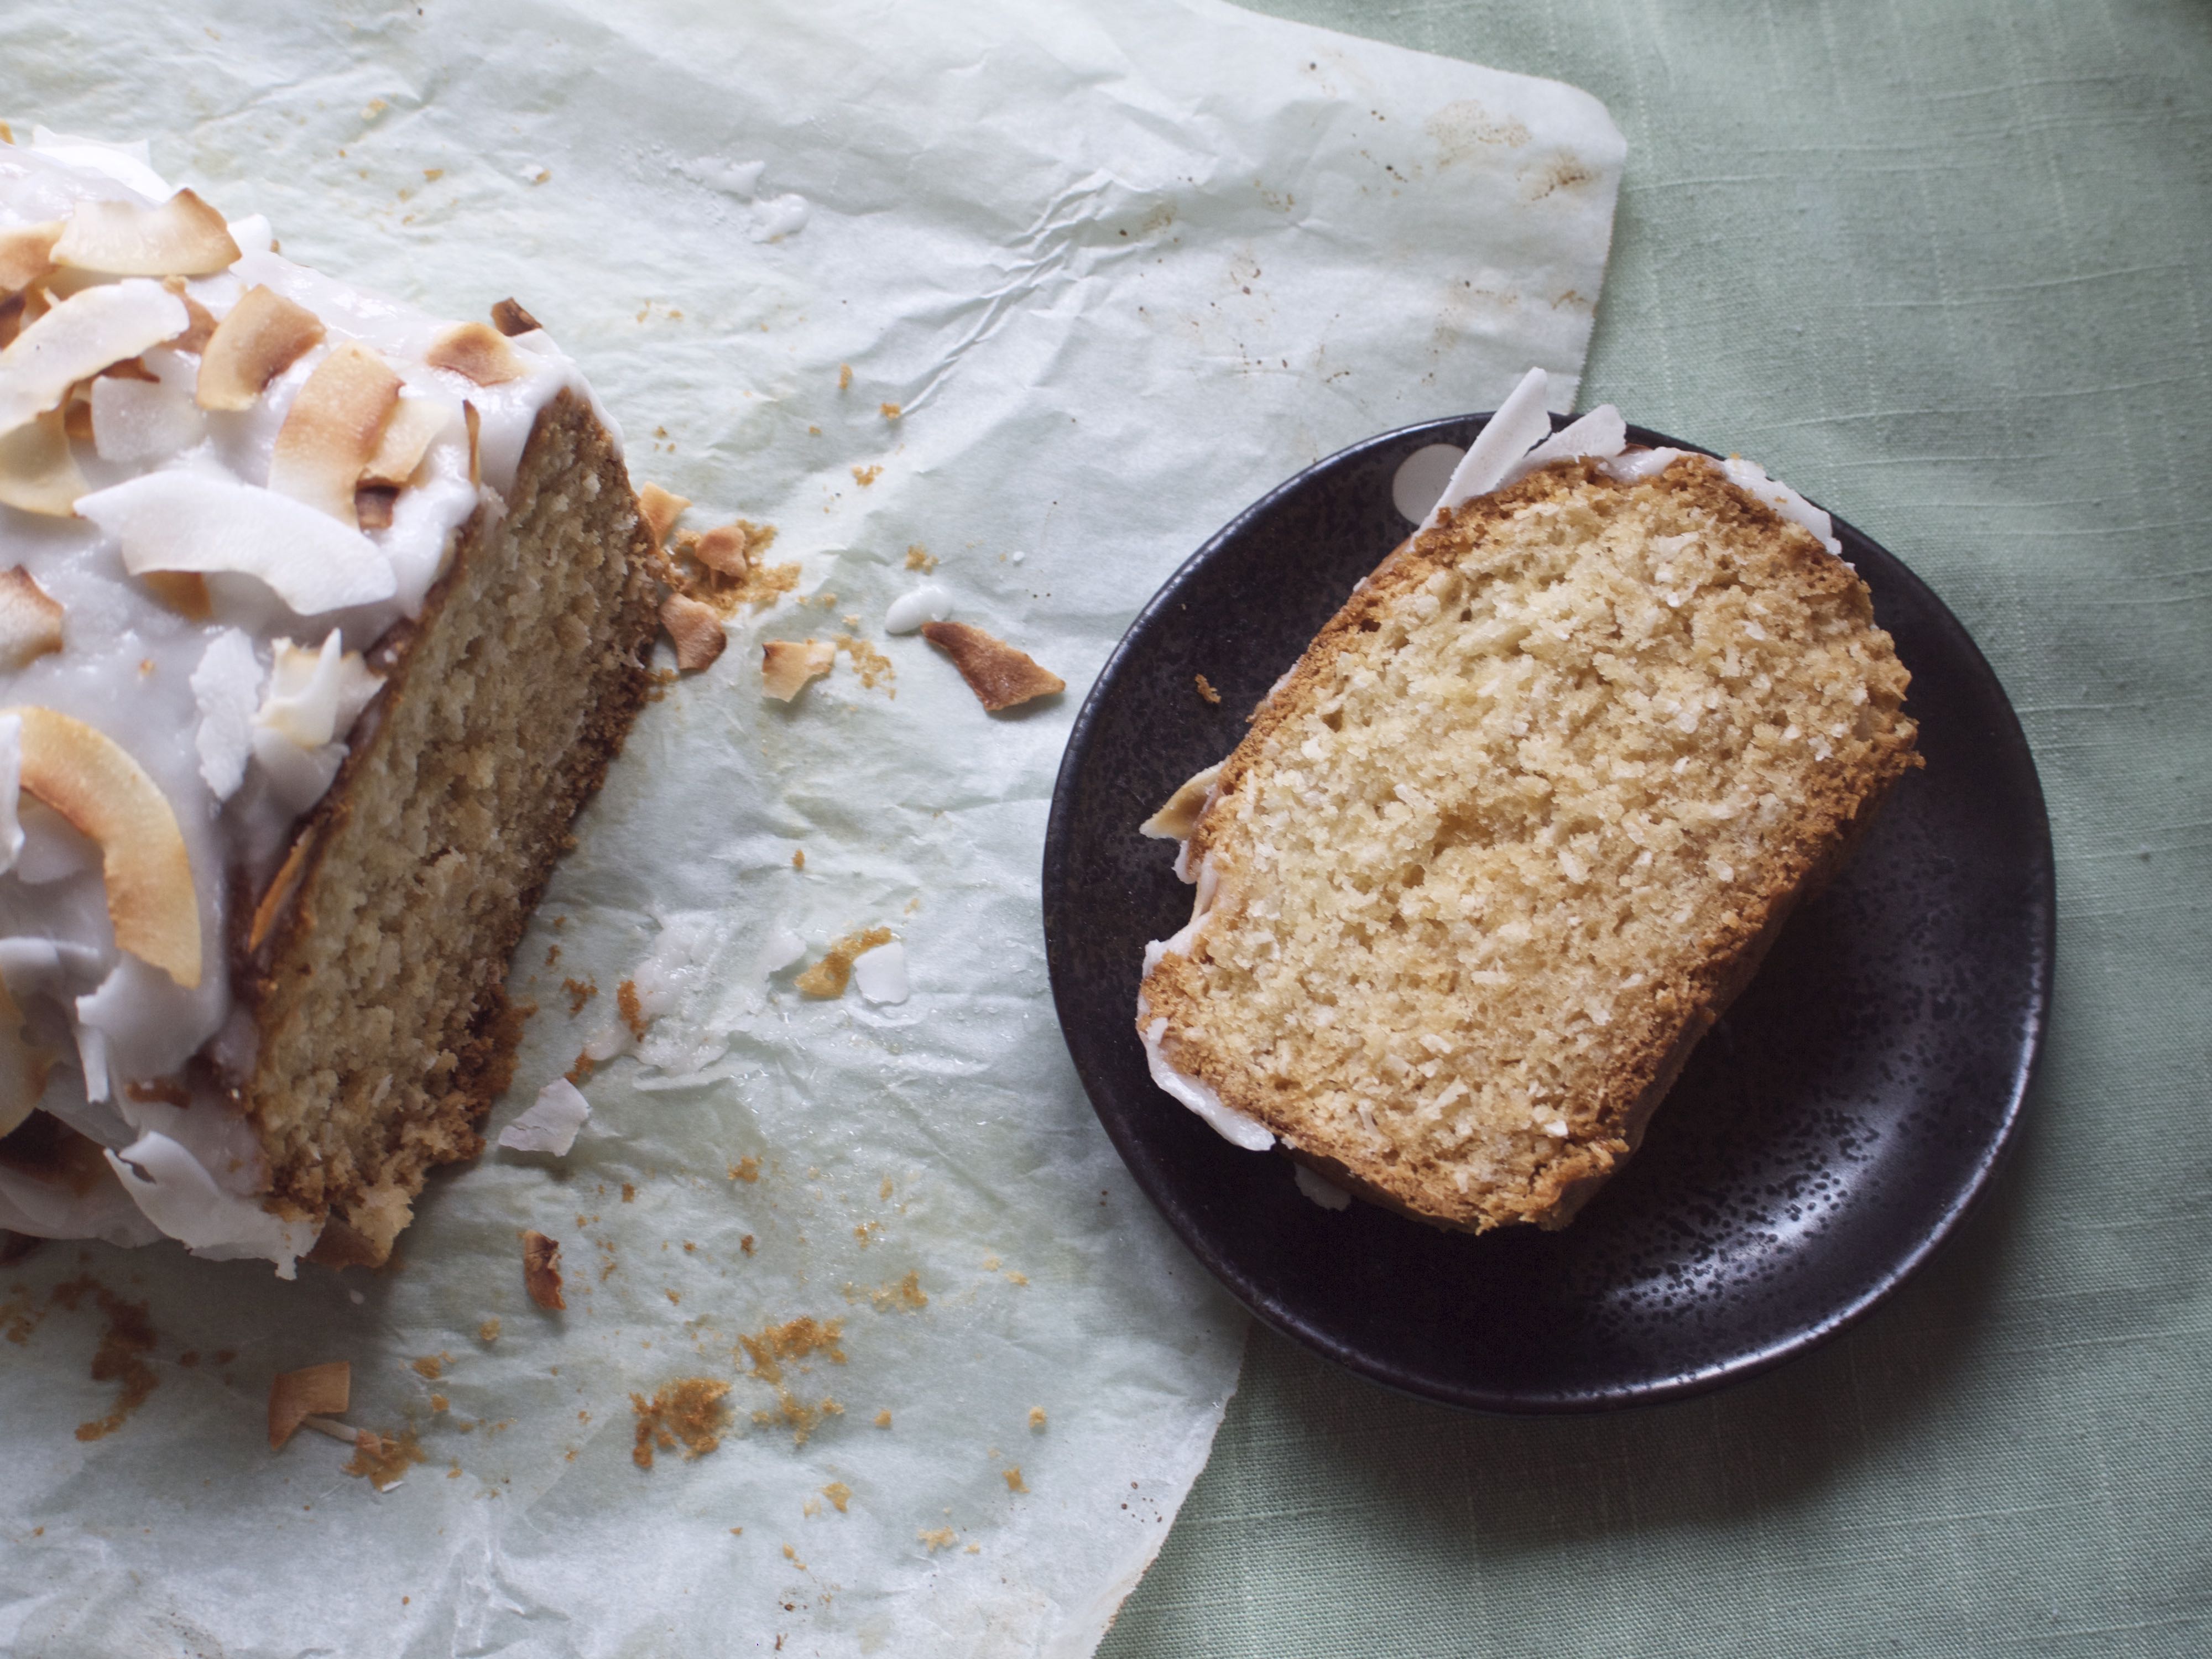
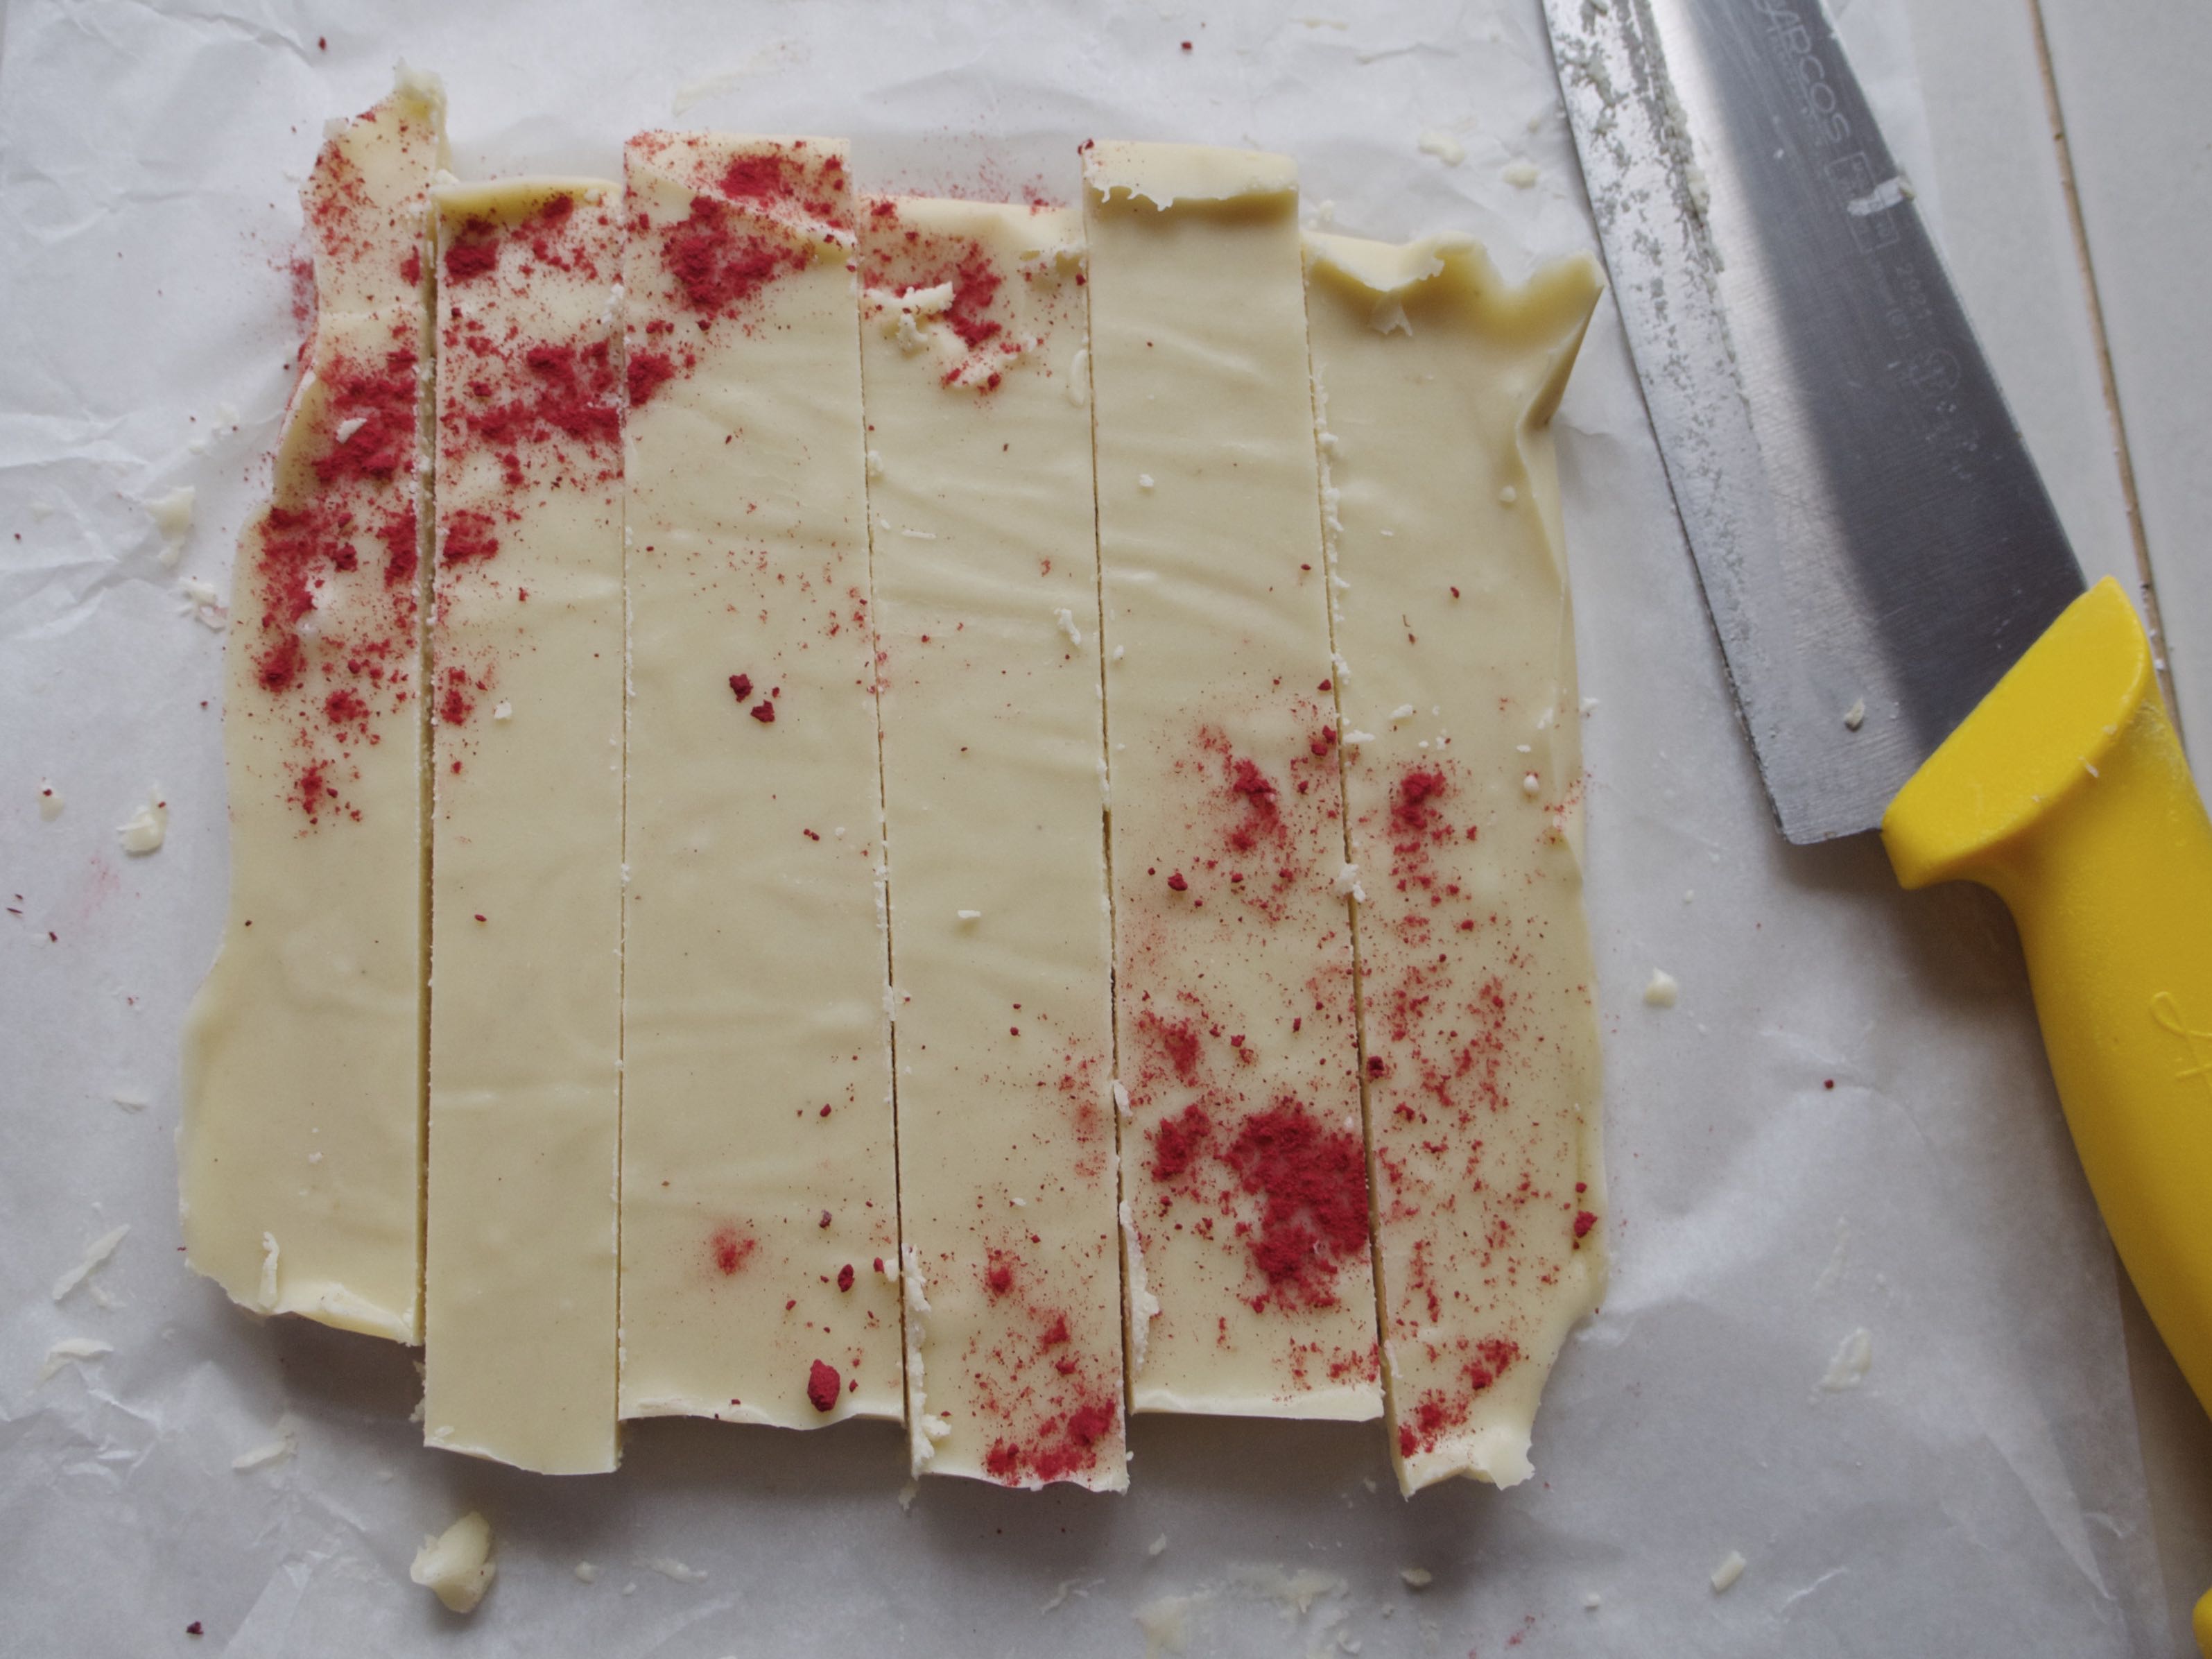
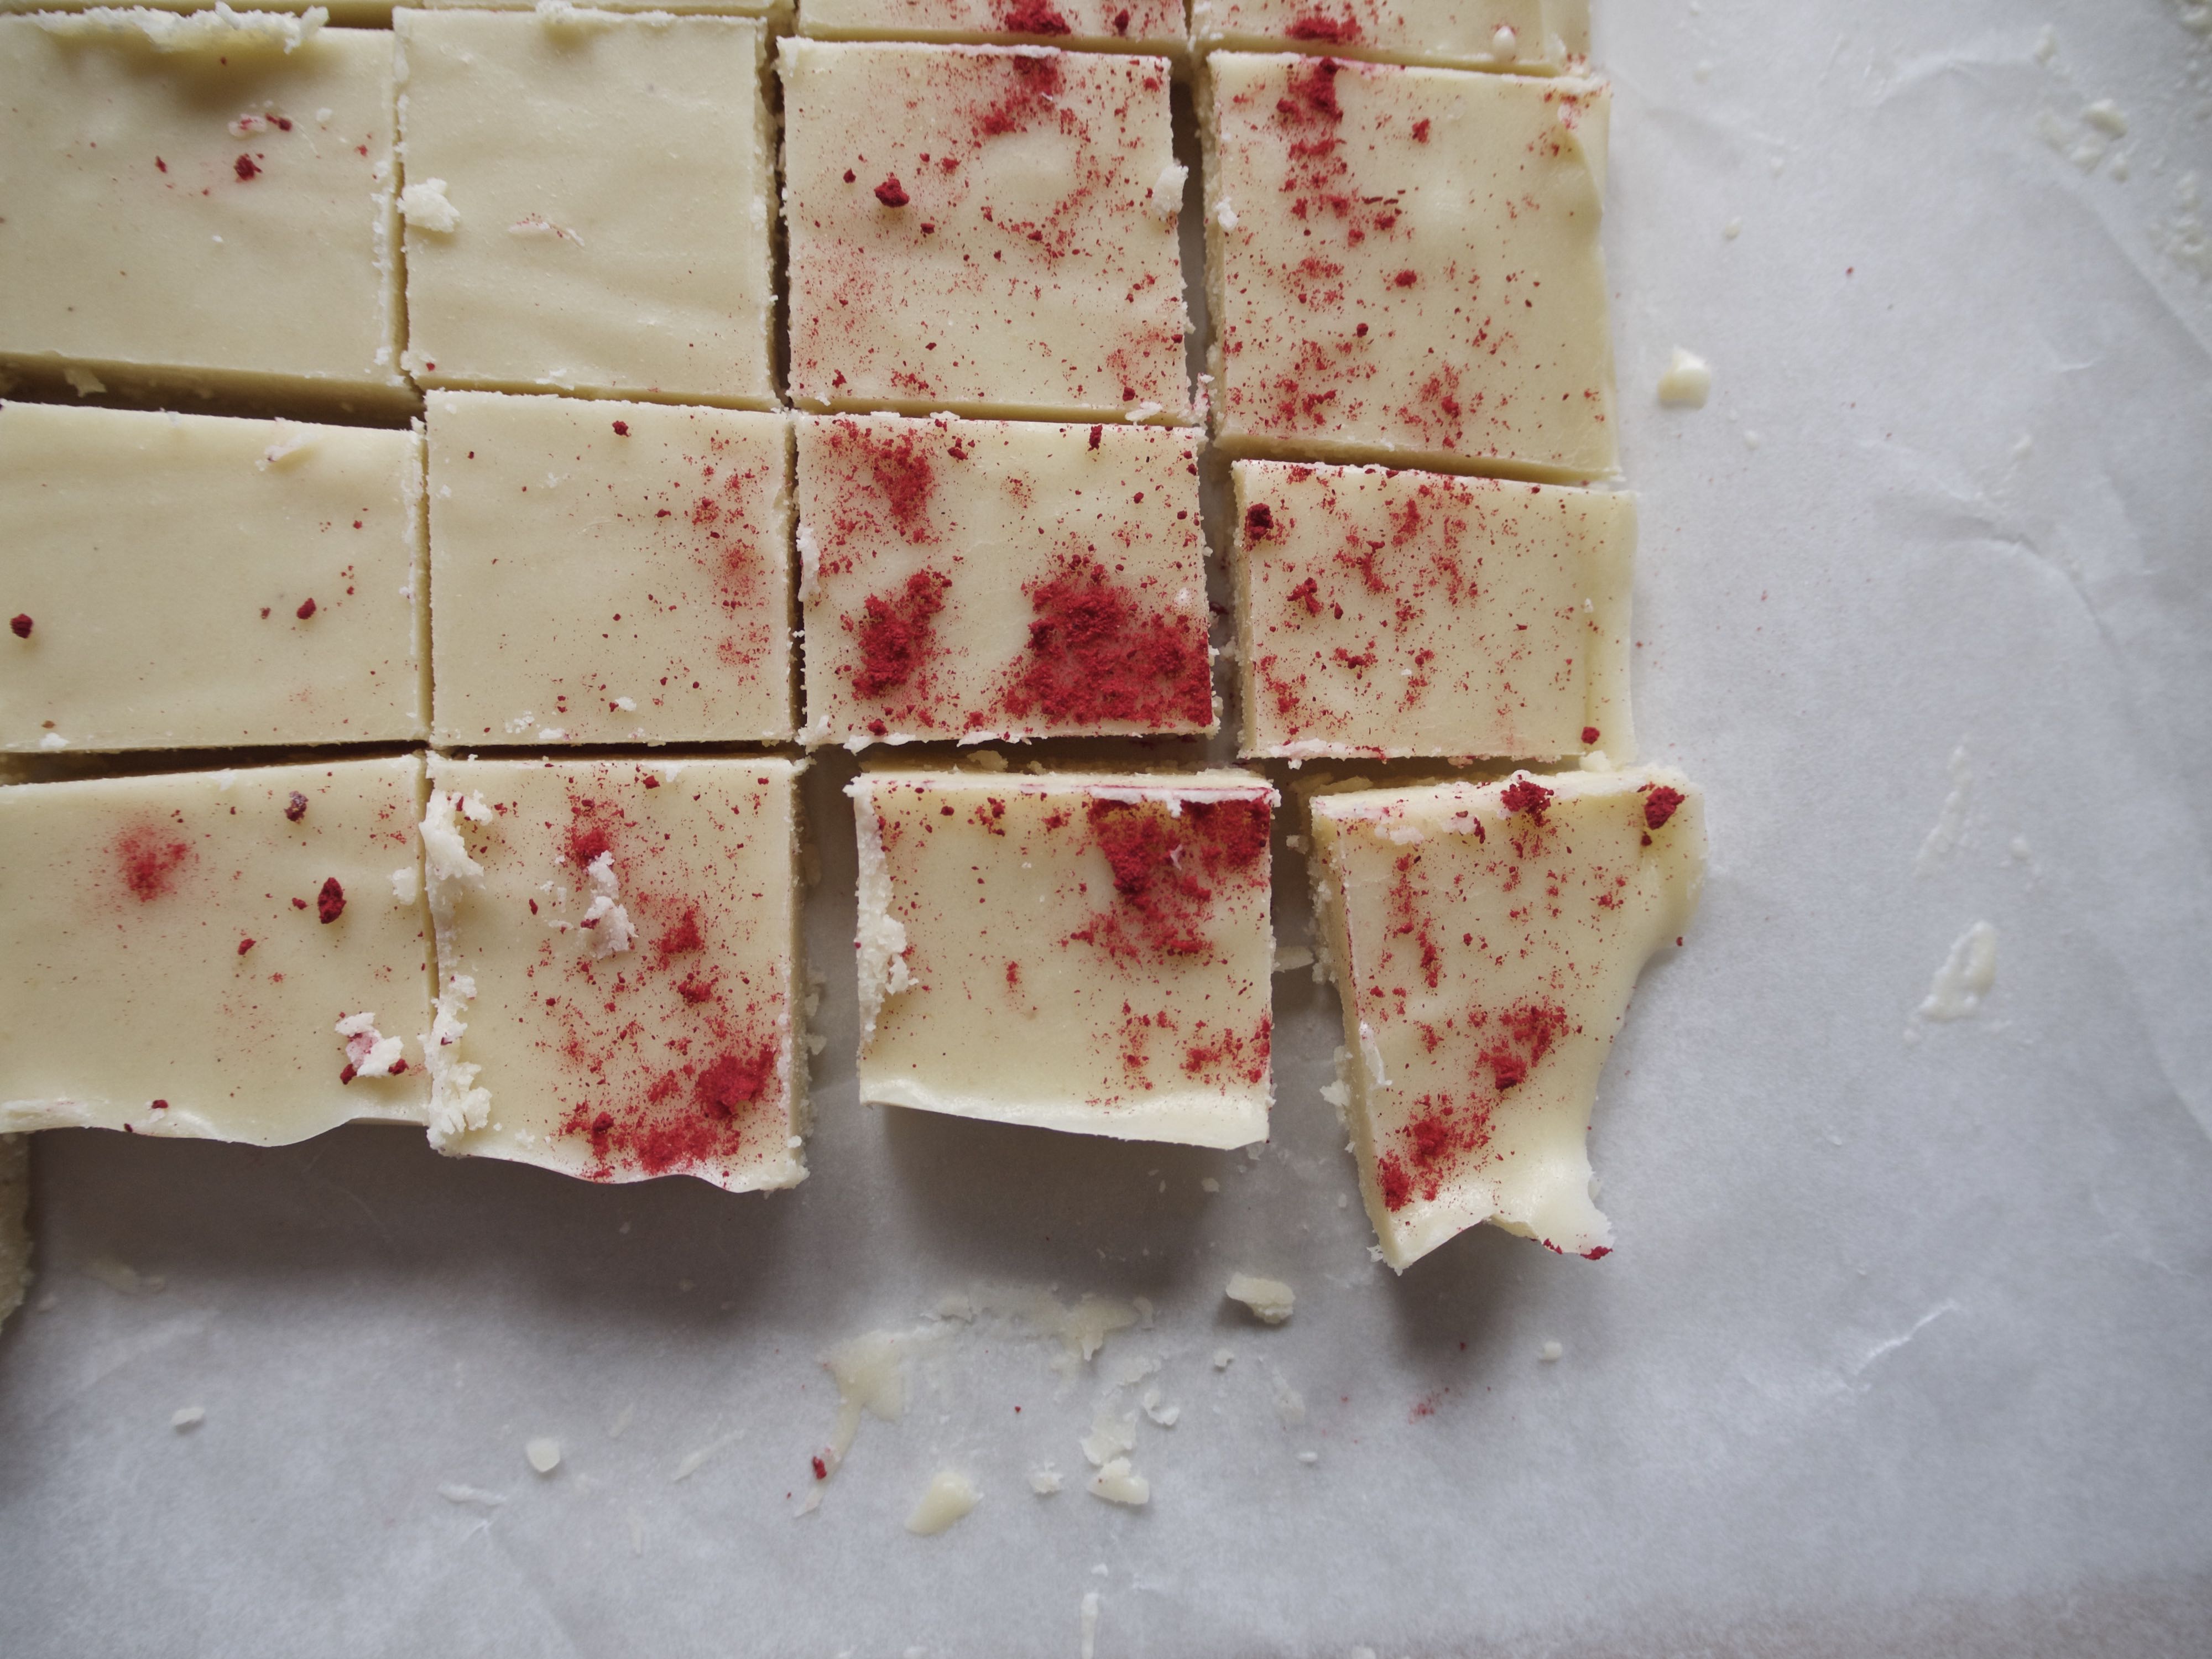
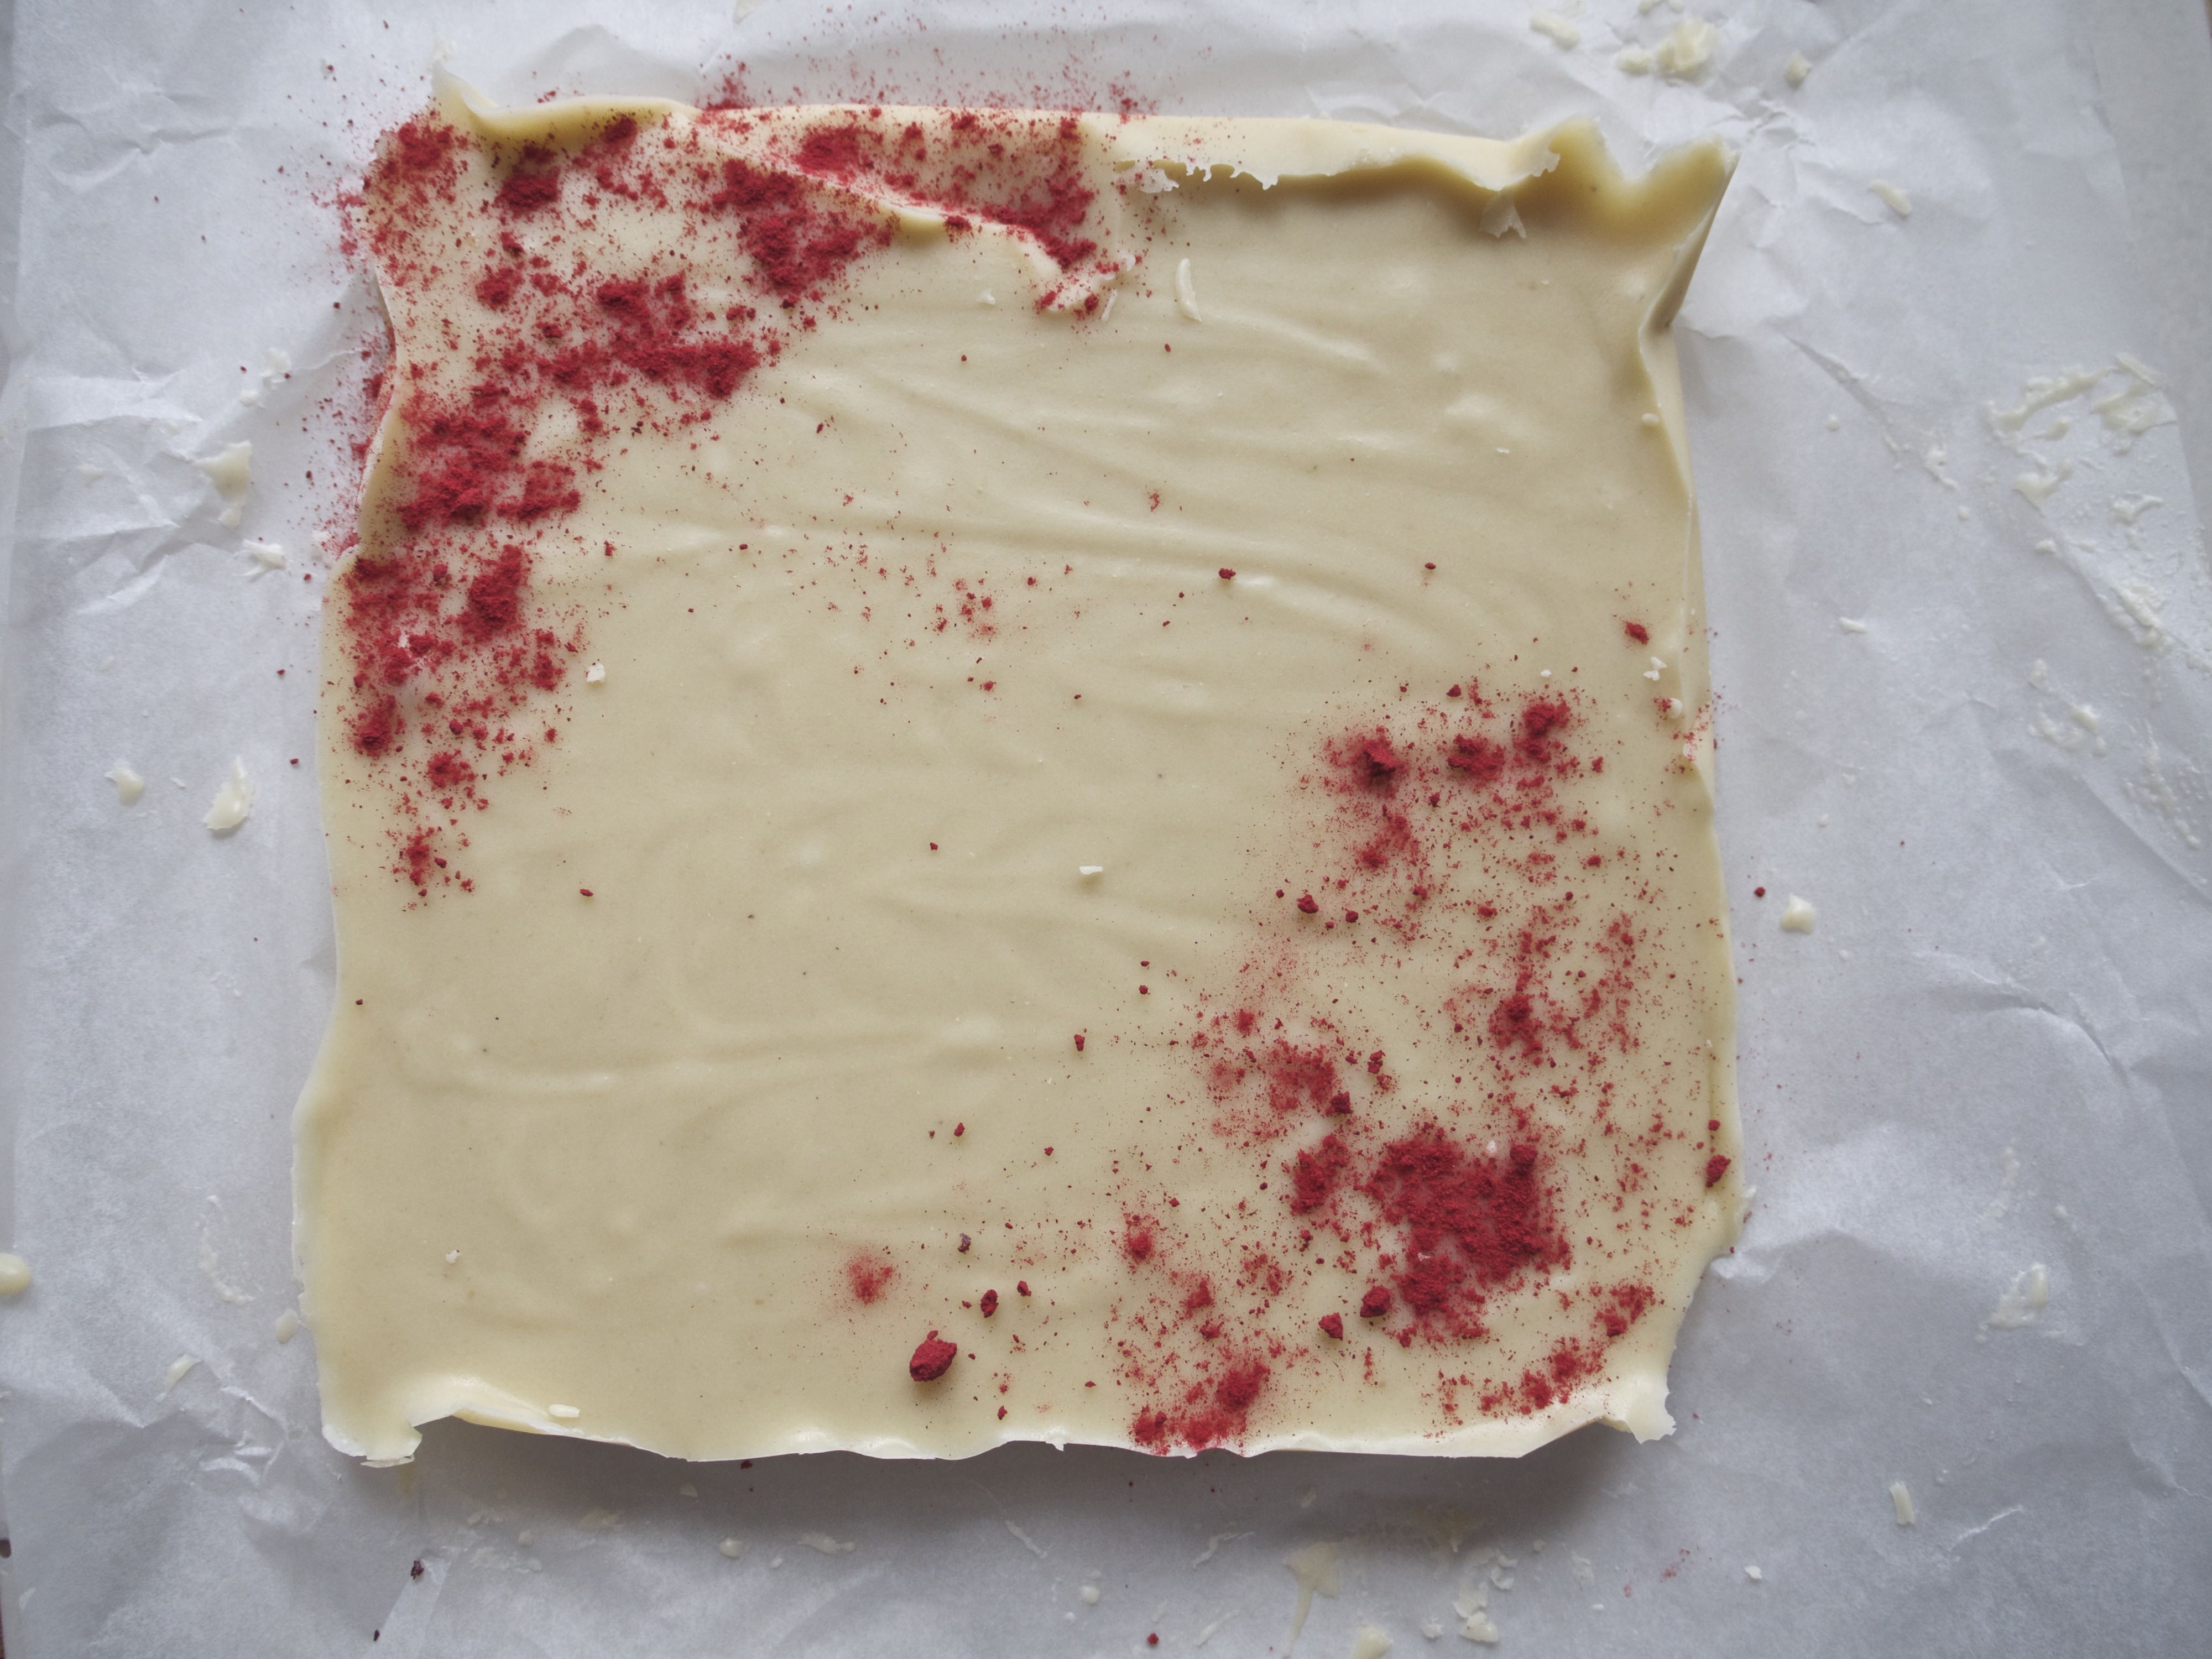
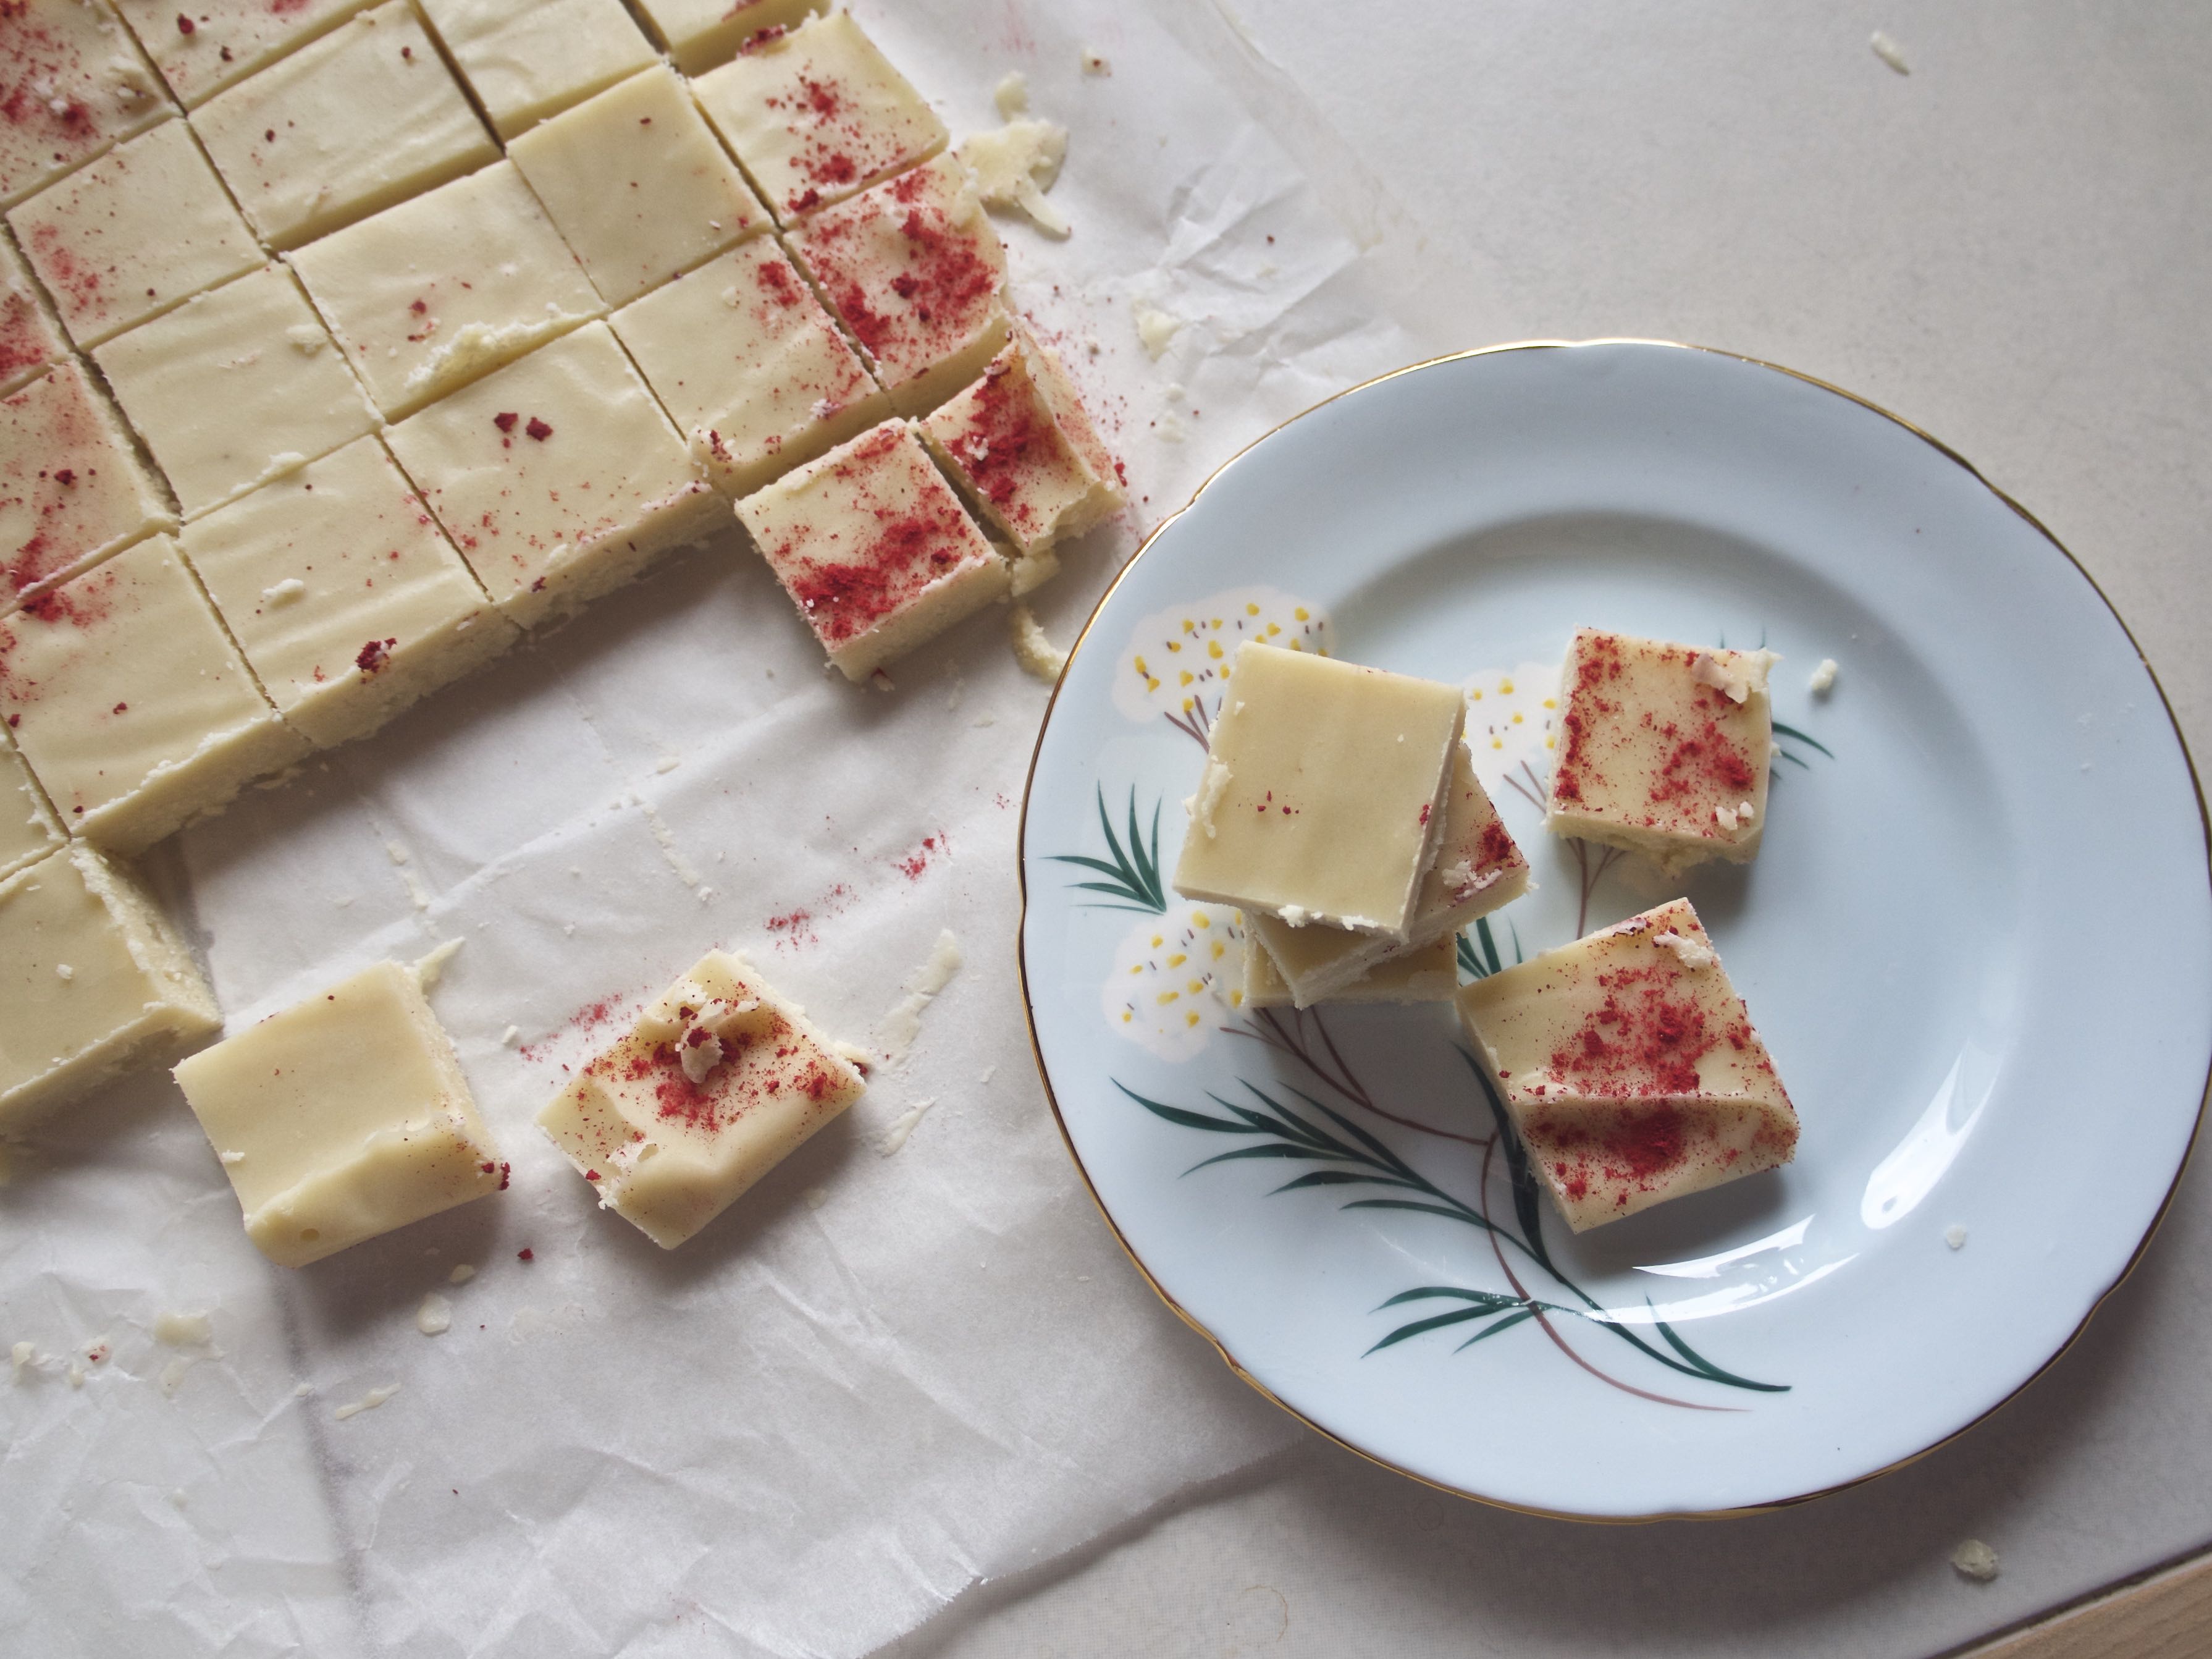
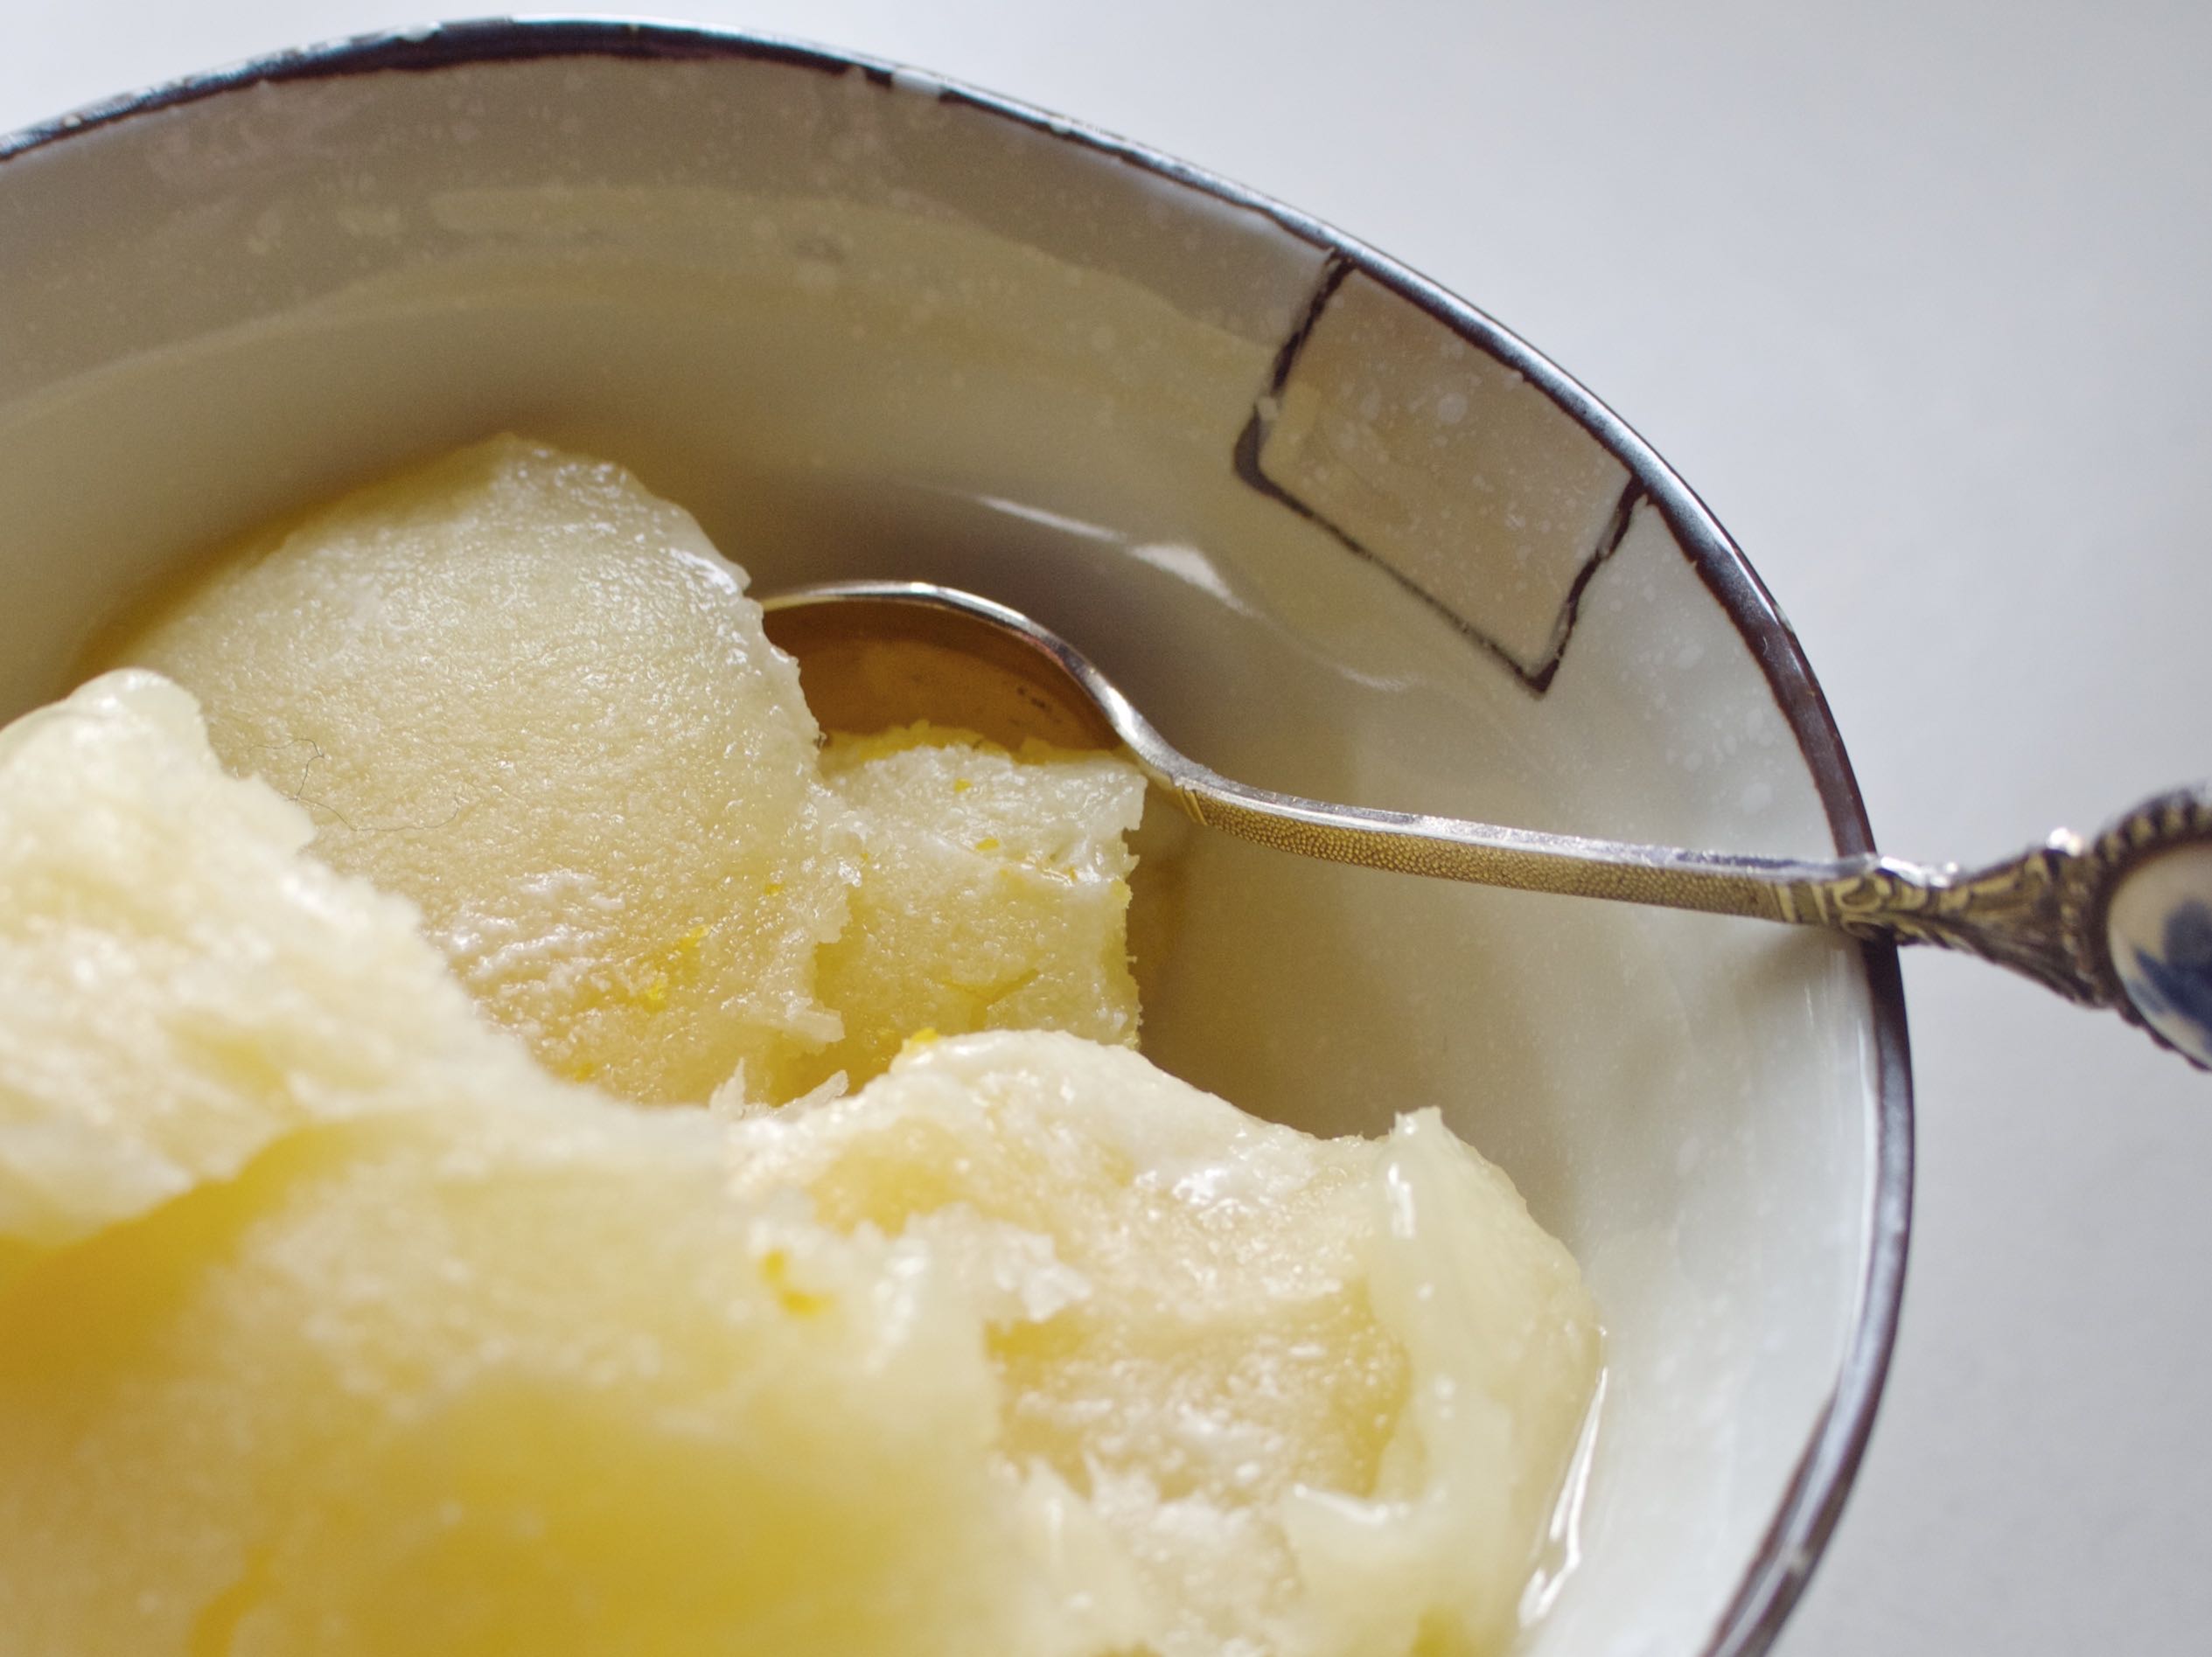
P1190992

Look at it!

P1190972

But also look at this! Better make them both, just to be safe.

No-Churn Pineapple-Lemon Gelato

Sour-sweet and delicious, and no special equipment required beyond a wooden spoon. Recipe by myself.

  • 2 cups pineapple juice
  • 3/4 cup fresh lemon juice (around four good-sized lemons’ worth)
  • 1 and 1/2 cups sugar
  • 3/4 cup soy milk
  • 7 teaspoons cornflour (aka cornstarch)
  • 1 heaped tablespoon finely chopped raw cacao butter*
  • 1/2 teaspoon vanilla extract
  • a pinch of salt
  • finely grated zest from the lemons (optional but very good)

1: Bring the pineapple juice, lemon juice and sugar to the boil in a saucepan, and then lower to a simmer and stir until the sugar has completely dissolved. Turn off the heat, but leave the pan where it is.

2: Mix the cornflour with a little of the soymilk in a small bowl – just enough to make it into a wet slurry, which will ensure it blends smoothly without lumps. Add the cornflour mixture and remaining soy milk to the pineapple mixture and cook it over a low heat, stirring constantly, until the mixture thickens to about the texture of a good smoothie – you’ll be able to feel the difference in it as you stir, as it becomes less watery and more saucy.

3: Remove from the heat and stir in the cacao butter, vanilla extract, and salt, continuing to stir until the cacao butter has melted and is completely incorporated. At this point, stir in the lemon zest if using.

4: Transfer the mixture to a freezer-safe container, cover, and allow to come to room temperature on the bench. Then, refrigerate it for four to six hours. This step is important – it helps the mixture to settle, so that the fat doesn’t separate, and I am convinced it improves the flavour. Give it a stir – only if it looks like it needs it – and then freeze for six hours or overnight. It should be ready to serve right away, otherwise sit it on the bench for ten minutes first.

Makes around 800ml.

*If you can’t find cacao butter this will probably work with coconut oil – I haven’t tested it but I’m quite sure it would be fine. Keep it at a heaped tablespoon, but you won’t need to chop it up because coconut oil melts very quickly.

P1190969

music lately:

Classic Girl by Jane’s Addiction. I love the way it starts drowsy and woozy and suddenly springs to life with those jaunty, Space Oddity-style drum fills. I love whatever top-of-nose metallic register Perry Farrell’s voice is in. An excellent closer to an eternally excellent album.

Legends Never Die by Orville Peck and Shania Twain – in a year of so little positivity, this song is just very uncomplicatedly lovely. Peck’s cavernous Orbison-y voice blends gloriously with Twain’s more raspy vocals on the road-weary lyrics, and they’re both clearly having a wonderful time.

You’ve Got A Friend, sung by Carol Burnett, Bernadette Peters and Mama Cass on a 1971 episode of The Carol Burnett Show. My friend Sam sent this to me correctly assuming it would bring me joy – and oh what joy it brings. The daffy choreography, the flowing gowns, the teeny microphones, the hyperactive vocal arrangement (“you’ve got a friend, you’ve got a good friend, you’ve got a very good friend”) the soaring sumptuousness of Mama Cass’s voice, baby Bernadette Peters’ voice like a china plate falling to the floor but never quite hitting it, the fact that the song lasts six minutes and fifty-five whole seconds. There’s something so comforting about that immense, competent professionalism that you get in stars of yesteryear like Carol Burnett (see also the endlessly capable Julie Andrews) which becomes even more comforting when she’s assuring you repeatedly through the medium of song that you’re not alone.

PS: If you enjoy my writing and wish to support me directly, there’s no better way than behind the claret velvet VIP curtain of my Patreon. Recipes, reviews, poetry, updates, secrets, stories, all yours on a monthly basis.

Sticky Shiitake Yuba with Creamy Double Corn Polenta

IMG_1233

When making or devising vegan recipes, a lot of the time the point is suggesting a prior, existing food — eg, this tastes just like white chocolate! This tastes like pulled pork! I can’t believe it’s not butter! and so on. In choosing to close myself off to several avenues of consuming food, this comes as no surprise. When considering what today’s recipe was supposed to represent, however, I couldn’t come up with anything. It’s supposed to be itself, that’s all. In fact I wasn’t even making it to be blogged about — as you can probably tell from the slightly hasty vibe of the photos — but it tasted so good, that I couldn’t selfishly keep it to myself. Fortunately for me, there’s a current vogue for food photography which looks as though it took place under a yellow lightbulb, but it probably helps to let you know of this trend in case the imagery strikes you as hideous and unwarranted. It’s warranted! Much as prior generations gasp at the antics of the subsequent youth, I can imagine my 2007 self being moderately aghast that the ugly photos I took then out of necessity, due to living in a house as dark and wet as the underside of a lake, might later be recreated on purpose. That being said, the photos I took back then were properly ugly regardless of context, and no, you should not go back into the archives and investigate. I love to brag about how I’ve been blogging for a very long time, less fun is having reminders of what that content actually was.

Anyway, the recipe!

IMG_1236

This is a double bill of which you can take or leave either part, but the components work beautifully together. Firstly, yuba — more specifically, the skin that forms on top of the soy milk while making tofu, then sold as a versatile product in its own right — which is marinated in a number of condiments and pastes and fried till stickily dense and chewy in a delicious and elegant salty-sweet tangle of crisp shiitake mushrooms and caramelised onions.

Secondly, the lotion-thick polenta, slowly simmered in coconut cream and stock with corn kernels added for no real reason other than I like corn and that’s my prerogative. If you’ve never had soft polenta before its floppy, porridge-like texture might seem a little disconcerting — is it hard soup? Is it cake batter? Big sauce? But its creamy, rich yielding-ness is wonderfully comforting and a great way of both propping up and absorbing the sauce of other foods in the same way you might use mashed potato. If, on the other hand, you are extremely familiar with polenta then you’ll probably hate my explanation not to mention my untraditional method of mixing the polenta and liquid together before heating it, instead of dropping the polenta into hot liquid and I’m sorry but I refuse to change! Or apologise!

IMG_1226

This recipe would be, I think, an ideal meal if you want to impress someone. I just made it for my brother and me for dinner, but I was pretty impressed with myself, for what it’s worth.

We’re back in lockdown in New Zealand, or at least, we are in my part of the country. Rather than feeling overwhelmed by returning to prior restrictions, I’m glad we have relatively clear leadership deciding this for us. Like, I extremely resist any sense of being part of a “team of five million”, which to me sounds like the realm of people who enjoy ice-breaker games and beep tests, but there’s nothing stopping us not being dicks about it at least. We’ve done this before and it’s not a surprise. We got to enjoy one hundred days free of COVID-19, on borrowed — and unprecedented — time, and now we’re putting in the work again. I’m very lucky that the activities which bring me joy are mostly housebound — knitting, cooking, writing, watching movies, reading – and maybe next time you hear from me I’ll be frazzled and denouncing this calmness, but till then: one hour at a time, one day at a time.

IMG_1232

Sticky Shiitake Yuba with Creamy Double Corn Polenta

Low-key and elegant. Recipe by myself. Serves 2.

  • 1 package yuba (also sold as tofu skin or bean curd skin)
  • 1/4 cup olive oil, plus extra for frying
  • 1 tablespoon liquid aminos or soy sauce
  • 2 tablespoons nutritional yeast
  • 2 tablespoons muscovado sugar (or brown sugar)
  • A dash of your preferred hot sauce, or to taste
  • 1 heaped tablespoon tomato paste
  • 1/2 cup dried shiitake mushrooms
  • 2 large onions
  • 3 cloves garlic, roughly chopped
  • salt and pepper, to taste
  • chopped fresh parsley, for garnish

Polenta

  • 3/4 cup polenta
  • 2 tablespoons olive oil
  • 1 cup coconut cream
  • 1 and half cups water
  • 1 vege stock cube (or your preferred flavour)
  • 2 cloves garlic, crushed
  • 1 can corn kernels, drained (or 1 cup frozen corn kernels)
  • Salt and pepper, to taste

1: First, the prep – place all of the yuba into a medium bowl and the shiitake mushrooms into a smaller bowl. Cover the yuba in cold water and leave for about four hours or until very soft. If the day is warm, cover and put it in the fridge, otherwise just leaving it on the bench is fine. At the same time, since they need to be soaked too, you might as well cover the shiitake mushrooms in boiling water.

2: Drain the soaked yuba, gently squeezing it to remove most of the water. Roll it up on a board and roughly chop into thin strips and shreds. Return it to the same bowl and add the olive oil, soy sauce, nutritional yeast, sugar, hot sauce and tomato paste. Drain the mushrooms, reserving a tablespoon of the soaking liquid, and add this liquid to the yuba. Leave the yuba to marinate for about an hour, and set the drained mushrooms aside.

3: Peel and finely slice the two onions, and fry them in a medium-sized saucepan in a little extra olive oil till quite browned. Turn off the heat, but leave the saucepan where it is.

4: Now for the polenta – mix all the ingredients except the corn kernels together in a saucepan. Bring to the boil, stirring often with a wooden spoon, then add the corn kernels, lower the heat, and allow to simmer for about twenty minutes – stirring quite often – until the polenta has lost any grittiness. You may need to add a little extra water along the way. I like to stir in more olive oil at the end but it’s optional, I am just extremely pro-oil. The level of seasoning is also up to you, but please, do season it.

5: While the polenta is simmering, turn the heat up under the onions again, push the onions to one side of the pan, add a little extra oil, and fry the shiitake mushrooms, allowing them to get browned on both sides. Next, push everything to the side and add the yuba along with its marinade, and the chopped garlic cloves, and stir over a high heat for a couple of minutes. The yuba should be sticky and chewy, and a little shrivelled in places, for want of a better word.

Spoon the polenta onto two plates, and divide the yuba mixture between them on top. Sprinkle over the parsley.

IMG_1228

music lately:

Blue Eyes Crying in the Rain by Harry Dean Stanton. A classic, from a classic.

Nel Blu Dipinto di Blu by Dolores Duran — a song often recorded under a name you might be more familiar with: Volare. Duran’s voice was stunning — smoky and rich with a comforting heft which belied her young years.

PS: If you enjoy my writing and wish to support me directly, there’s no better way than behind the claret velvet VIP curtain of my Patreon. Recipes, reviews, poetry, updates, secrets, stories, all yours on a monthly basis.

Vegan Piña Colada Loaf Cake

P1190983

“Is that coconut I taste in this food you’ve cooked?” Yes, probably, I’m vegan. With this loaf cake I decided to take the obvious and go large with it – you’re definitely supposed to taste the coconut. In fact, it started off in my head as just a coconut loaf — admittedly, I was thinking about how cute the toasted coconut chips would look against the white icing more than anything else, but in my defence these days you have to be aesthetic-forwards or no one will grant you their precious attention span on the timeline, let alone care how passionately you write. And a coconut loaf cake on its own would’ve been great, but there was pineapple juice in the fridge leftover from another recipe, and I have a lot of rum in my wardrobe (as in, that’s where I have space to store it, Wardrobe-Rum isn’t a weird bartender quirk, it doesn’t enhance the flavour or anything.)

And who is better friends with coconut than pineapple and rum? I mean, to answer that question honestly as a vegan, I’d say there’s not much that I can’t make play nicely with coconut, but in a traditional sense, rum-coconut-pineapple is a classic, an iconic marriage of sweet and rich and zingy. My piña colada loaf cake recipe celebrates this magnificent trifecta — with an added friendly dash of lime — in an easy, one-bowl affair, which is chill enough to eat in the morning, yet elegant enough to eat at night.

P1190985

That SPF 50 flavour comes from using three different kinds of coconut — the sandy desiccated stuff in the cake batter, coconut cream in the batter and icing, and a generous handful of coconut chips on top. The rum is optional — but it makes things taste like rum, which is undeniably positive — and the pineapple, one of the most hardworking flavours there is, gives us juicy sourness, golden sweetness and a certain beachy hopefulness. The thing is, a piña colada wouldn’t really be my first, second or third choice of drink (and I’m so glad I retired my practice of naming blog posts for corresponding song lyrics so I don’t have to acknowledge that song) but in loaf cake form, it’s sublime. Is that coconut you taste? Hell yes.

P1190981

Piña Colada Loaf Cake

One-bowl, pineapple-coconut-rum magic. Recipe by myself.

  • 2 cups plain flour
  • 1 and 1/2 teaspoons baking powder
  • 1 and 1/2 teaspoons baking soda
  • 1 cup desiccated coconut
  • 1/2 cup pineapple juice
  • 1/2 cup coconut cream or full-fat coconut milk
  • 1/4 cup rice bran oil, canola oil, or similar
  • 1 tablespoon lime juice (or lemon)
  • 1 teaspoon vanilla extract
  • pinch salt

Icing

  • 2 and 1/2 cups icing sugar
  • 1 tablespoon Jamaican rum (or rum of your choice, or an extra tablespoon pineapple juice)
  • 1 tablespoon coconut cream
  • 2 tablespoons pineapple juice
  • 1/3 cup coconut chips/flakes

1: Set your oven to 180C/350F and line a loaf tin with baking paper. Stir the flour, baking powder, baking soda and desiccated coconut together in a mixing bowl.

2: Make a well in the centre of the dry ingredients and tip in the pineapple juice, coconut cream, oil, lemon juice, vanilla and salt. Fold it together till it forms a thick batter. Spatula this mixture into the loaf tin and spread it evenly. Bake for 45-50 minutes, or until a skewer inserted into the cake comes out clean. If it looks like it’s getting too brown on top, cover it with a sheet of tinfoil.

3: To make the icing, mix together the rum, coconut cream, pineapple juice and icing sugar. Toast the coconut chips (I did half and left half raw) over a low heat in a frying pan till they’re just browned, and quickly remove from the heat.

6: Let the cake cool somewhat before icing – it can still be a little warm, but if it’s too hot the icing will slide right off. Spread the icing thickly over the top and then sprinkle with the coconut chips.

Store in an airtight container.

Notes: If your coconut cream is the kind that separates itself out in the can, make sure it’s the thick, creamy stuff that you’re using, and not the more watery part. For added flavour, you can jab the cooked loaf cake with a skewer in several places while it’s still hot and pour over a tablespoon or so of either rum or pineapple juice.

P1190987

music lately:

Song For The Sun by Swans. Yes, I like their more difficult stuff, but sometimes it’s nice to reward yourself with a straightforwardly wonderful song like this, and even if the melody is fantastically uplifting, the poetically miserable lyrics are there to grab you by the ankle and make you fall to the floor.

Dashti by Hayedeh. That contralto!

Ever New by Beverly Glenn-Copeland. Simply one of the most gloriously beautiful songs I’ve ever heard, I urge you to listen to it! For your health! Prioritise your health and listen to this song!

PS: If you enjoy my writing and wish to support me directly, there’s no better way than behind the claret velvet VIP curtain of my Patreon. Recipes, reviews, poetry, updates, secrets, stories, all yours on a monthly basis.

Vegan White Chocolate

P1190946

It’s with no qualms that I admit I’m far more likely to name a problem and then complain about it ceaselessly rather than do anything about it. But every now and then my rare sense of initiative materialises and I become briefly solutions focussed. In the case of this recipe, I’d already spent a long time complaining about the price and flavour of vegan white chocolate in New Zealand, but then — I tried making my own — and it tasted AMAZING. Capital letters and italics level amazing and, I believe, extremely white chocolate-y.

P1190945

Before we go any further, here are the drawbacks: first you have to get your hands on some cacao butter and cashews. As I’ve said before, it pains me to my soul to recommend key ingredients which are potentially expensive or difficult to find, and who knows, perhaps one day I’ll devise a white chocolate recipe comprised solely of flour, water, and air. Till that blessed day comes, there’s no getting around the fact that cashews give this body and heft without any obtrusive nuttiness and the cacao butter gives it authentic texture and richness. The second drawback is this is really just an eating white chocolate — you could chop it up and use it in, say, brownies, but it’s not a melting-and-dipping type creation, or at least, I haven’t tested that aspect of it enough to encourage it with any confidence. Once you’ve got that out of the way it’s fairly straightforward. There’s a lot of blending involved — the near-unavoidable hallmark of vegan cooking — but not much else.

So this is just an eating chocolate, but what an eating experience! It really captures that flickering vanilla creaminess of regular white chocolate, the way it slides across your tongue and dissolves in your throat and the way it tastes better than any other chocolate. I do regret that I can’t approach naturally vegan artisanal dark chocolate with any of the enthusiasm I still hold for cheap non-vegan white chocolate but alas, this is how I am. At least now I can go into the world with my head held a little higher, rallied by the deliciousness of this fake white chocolate.

P1190947

It’s been a real week for showing initiative (which presumably means my faculties are spent and the coming weeks will be completely devoid of any resourcefulness.) Specifically, for the first time since I tried fifteen years ago, failed, tried again, got it, freaked out at the responsibility and let it lapse and expire — I have my learner’s license! It’ll sound like exaggerating to describe how hard I resisted anything to do with driving, instead choosing to be fruitlessly angry at this country’s abysmal public transport and over-reliance on cars, and also at the way learning to drive and ADHD are not immediately compatible. But after fifteen years of that, a different approach was required. I forced myself to focus, and memorise every practice question in the road code, until it was all I could think about, and certainly all I could talk about, and just when my brain was about to explode, I sat the test. And got it. 100%. What a singular rush. Getting my learners means I’m legally allowed to get driving lessons, which will involve a whole lot more wrenching of focus and determination, but I think I’m finally ready, second time around, to take less than fifteen years to achieve this.

P1190943

Vegan White Chocolate

Creamy, delicious, and amazingly similar to the memory of white chocolate. The recipe may look wordy but it’s just a case of blending everything thoroughly. Recipe by myself.

  • 70g/half a cup cashews (raw/not toasted)
  • 1 cup roughly chopped cacao butter
  • 2 tablespoons coconut oil
  • 1 and 1/2 cups icing sugar + half a cup extra just in case
  • 1/8 teaspoon (as in, a tiny, tiny pinch) cocoa
  • 2 teaspoons vanilla extract
  • a pinch of salt
  • freeze-dried raspberry powder for garnish (optional)

1: Soak the cashews in recently-boiled water for at least two hours, around four hours is optimal.

2: Place the cacao butter and coconut oil in a heatproof bowl and rest this bowl on top of a small pot or pan of simmering water (as in, the bowl rests in the mouth of the pan but the base doesn’t actually touch the water.) Let the heat from the water melt the cacao butter, stirring it occasionally (the bowl itself will heat up, so be careful.) Once the cacao butter is melted, turn off the heat and leave it till required.

3: Drain the cashews and place them in a medium sized mixing bowl. Using a stick/immersion blender, begin to blend the cashews until they are very smooth. It may help to add a little of the icing sugar at this point to give the blender more to grip on to. Add the cocoa and blend again to combine. You can leave out the cocoa if you want, but I feel, psychologically at least, that it adds something.

4: Add the icing sugar and melted cacao butter mixture to the cashews alternately a quarter cup or so at a time with the blender still running.

5: If the mixture looks like it’s not quite coming together, add the extra half cup of icing sugar a little at a time.

6: Once you’ve added in everything, switch to a spatula and fold in the vanilla and salt. I found that this folding motion also helped to incorporate any final visible cacao butter. Spatula this mixture into a 20cm square tin lined with baking paper (or whatever tin you have, it doesn’t matter if it won’t fill it completely) and leave to set in the fridge for about an hour or until firm. Sprinkle with the raspberry powder, if using. In all honestly I only added it because I thought it would make the photos look better, but it did taste lovely.

Slice into squares and store in the fridge.

Note: thank you to this recipe at glutenfreeonashoestring.com – our recipes are not the same but mine is inspired directly by reading theirs. I have not tried making this using a regular food processor – I’m sure it’s possible, the important thing is to make sure the cashews are thoroughly blended smooth before adding the melted cacao butter.

P1190953

music lately:

Mary Anne by Boytoy. This song is featured in the monumentally charming new Baby-Sitters Club series on Netflix, which I implore you to watch, and then to read the expression of adoration about it which I wrote for Tenderly. This song is wonderfully sixties in that sunny, Turtles/Monkees fashion, and disarmingly catchy.

I Know The End by Phoebe Bridgers. It starts like (this) and ends like THIS which is the ideal way for songs to progress! I also love Salt in the Wound by Boygenius, a group which Phoebe Bridgers is in, another excellent example of going from small to huge, this time with amazing harmonies, it’s real hardcore swoony stuff. I have my dear friend Charlotte to thank for introducing me to Phoebe Bridgers (or at least, for making it clear that she wasn’t Kasey Chambers, when I inexplicably thought they were the same person) and also for making me watch the Baby-Sitters Club series, which you should also watch!

Next time: I used cacao butter to try making ice cream and honestly? It didn’t really work. But I feel like I’m getting closer.

PS: If you enjoy my writing and wish to support me directly, there’s no better way than behind the claret velvet VIP curtain of my Patreon. Recipes, reviews, poetry, updates, secrets, stories, all yours on a monthly basis.