
It was somewhere in that indistinct and malleable stretch of the early nineties before the internet became accessible, let alone entrenched, and before every minute was documented – somewhere in that time, I sat down brimming with cheerful anticipation for the latest episode of Full House only to be confronted with a hideous replacement show – Mountain Dew on The Edge – a show whose title is opaque to the point of meaninglessness and yet is somehow entirely and nakedly threatening to be about sports. (To my disgust, it really was about sports.) It was on that sombre day I learned that TV shows have seasons that end, and they don’t just spit out new episodes forever, and you can’t rely on anything or anyone in this cold world but yourself, kid. It was somewhere in that same era that I once again faced disappointment when I turned on the television expecting a brand new episode of a particular sitcom and was met, instead, with a clip show, that budget-saving device TV shows lean on occasionally by cobbling together an episode from previously filmed segments – and I had no media literacy or access to Wikipedia or the TV Tropes website to understand what was happening or why I felt so let down. Who can you trust, if not your TV in the nineties?

Today’s recipe is, I apologetically acknowledge, something of a clip show, taking components familiar to long-term readers of both this blog and my Patreon – although hopefully it’s a clip show in the mildly superior vein of The Simpsons “All Singing, All Dancing” episode which had the grace to grant us the timeless Paint Your Wagon parody before getting into the replays. Just as Homer takes comfort in the presence of Lee Marvin – “he’s always drunk and violent!” – we can take comfort in knowing my recipes are always good, even if you’ve seen them before. And I’m currently in week three (I think?) of a Level 4 lockdown without any promised end date in sight, so I hope you can allow me a short rest on these comfortable laurels.
I wouldn’t be repeating this recipe, first seen here in 2017, if it wasn’t for good reason – this gnocchi is literally instant, using mashed potato flakes instead of peeled, boiled, and mashed potatoes. Whether you’re in lockdown, or you’re depressed, or you don’t have actual potatoes, or the thought of peeling potatoes and waiting for water to boil and then waiting for said potatoes to cook till tender makes you want to sob – whatever’s going on, this gnocchi can be yours in fifteen minutes from start to finish, even quicker if you’re feeling sprightly. (If this sounds like a glib recommendation, please know that I have made this gnocchi in every last one of these states and am speaking from experience.) This recipe is even faster than it was the first time around since I’ve dispensed with the time-consuming fork-rolling step – no great sacrifice and it makes the gnocchi look like tiny little pillows, a benignly pleasing notion.
Obviously – and perhaps this is what I should be really apologetic for – this is not the traditional Italian way of making gnocchi, and I imagine it’s not just the Italians who would get het up at putting instant mashed potato flakes front and centre of a recipe. But these instant mashed potato flakes are singularly useful to have around – they’re cheap, they last forever, they really are instant, and they’re a lifesaver square meal during times when you don’t know how your next actual square meal is going to fit into your bank account. They also make truly delicious gnocchi – light, puffy, golden-crisp and genuinely quite elegant – a dish that feels like a treat at any time, but especially in the middle of lockdown.

Instant Gnocchi
This gnocchi is not traditional – taking a huge shortcut with instant potato flakes – but it is very fast and very delicious, and that counts for something. Recipe, proudly, by myself.
- 3/4 cup instant mashed potato flakes
- 3/4 cup just-boiled water
- a generous pinch of salt
- 1 and 1/4 cups flour, and perhaps a little more
- olive oil, for frying
1: Mix the mashed potato flakes, water, and salt together in a bowl – which will turn the flakes, suddenly, into something resembling mashed potato – then stir in the flour, switching to your hands (a little carefully, since it’ll still be hot from the boiling water) to briefly knead/push it into a ball of soft, pliant dough. If it’s too sticky, add a little more flour, if it’s too floury, add more water.
2: Using your hands, roll portions of the dough into long snakes, and cut off pieces at 1-inch intervals, continuing with all the remaining dough till you have a pile of 1-inch pieces of dough, looking like tiny pillows. Obviously, you don’t have to measure with a ruler here. Just cut the stuff up.
3: You can cook the gnocchi in boiling salted water at this point – for a couple of minutes until they start floating on the surface – but what I prefer is to just tumble them into a hot frying pan with a couple spoonfuls of olive oil, place a lid on for a minute or so to sort of steam-fry them, and then remove the lid and turn them over so they get brown and crisp. I realise my lengthy description makes it look like this is the harder method; it’s much easier and, I think, significantly more delicious.
Serves two, modestly, or one, very generously.
Notes:
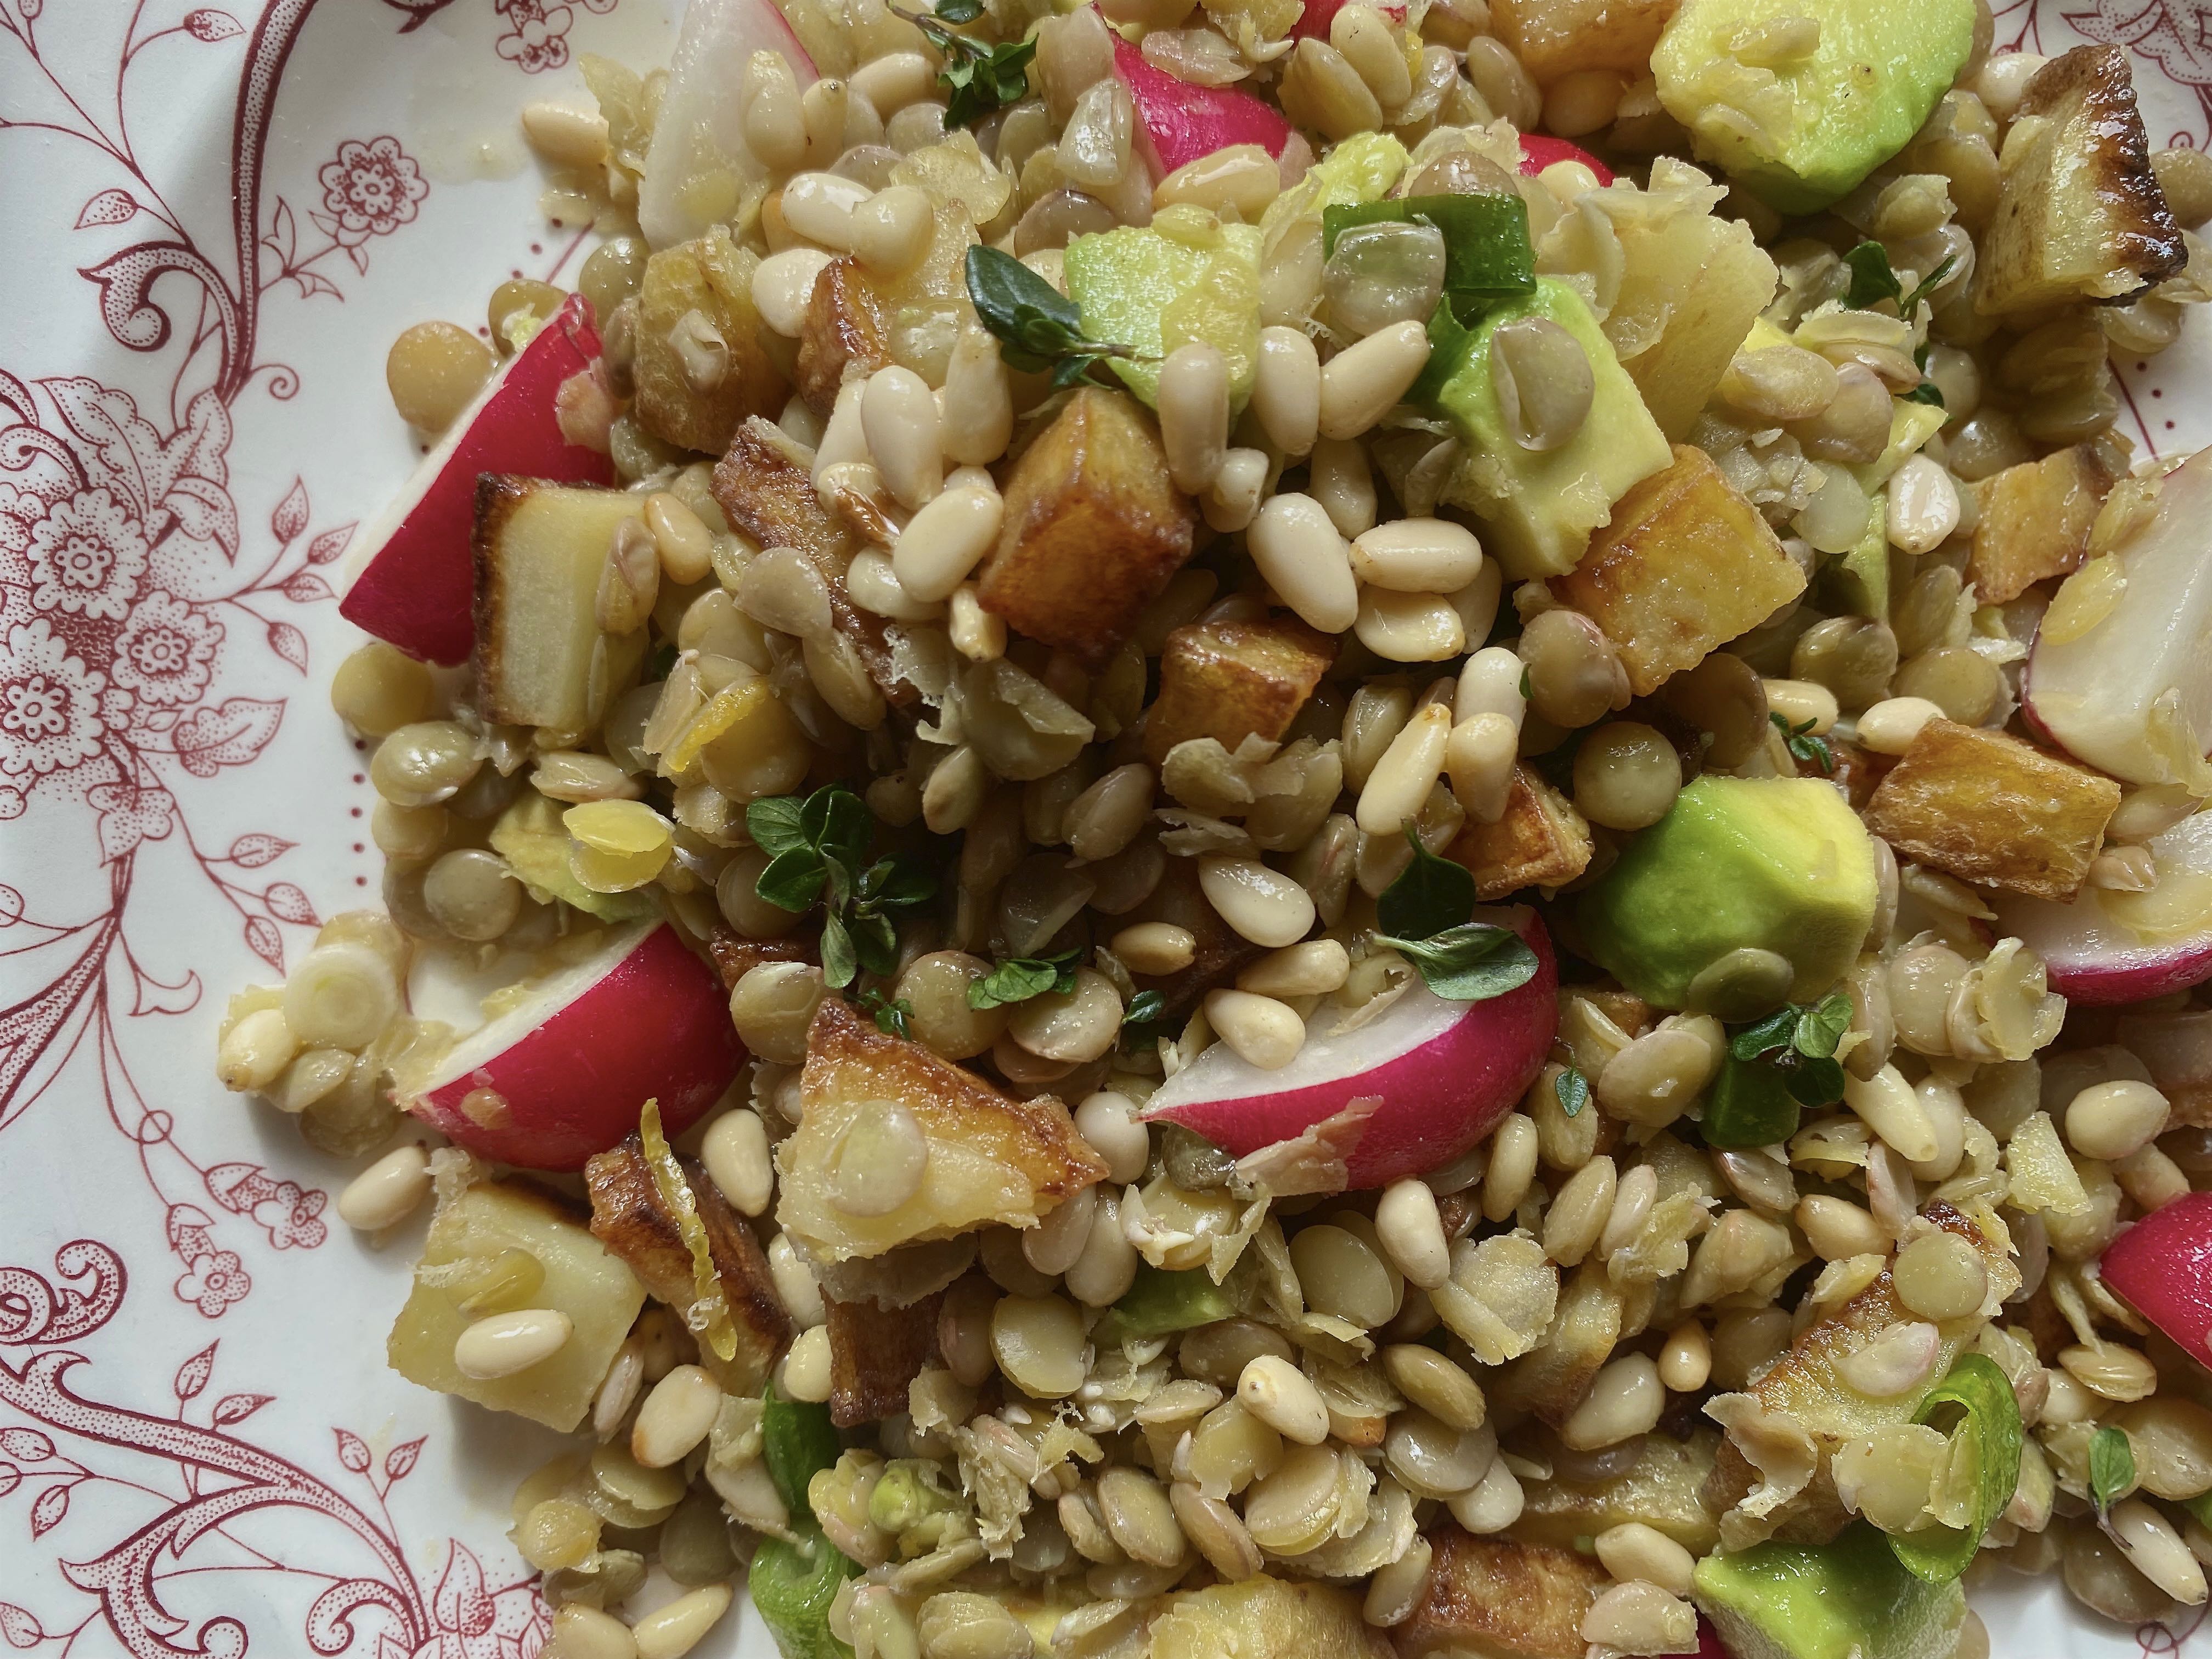
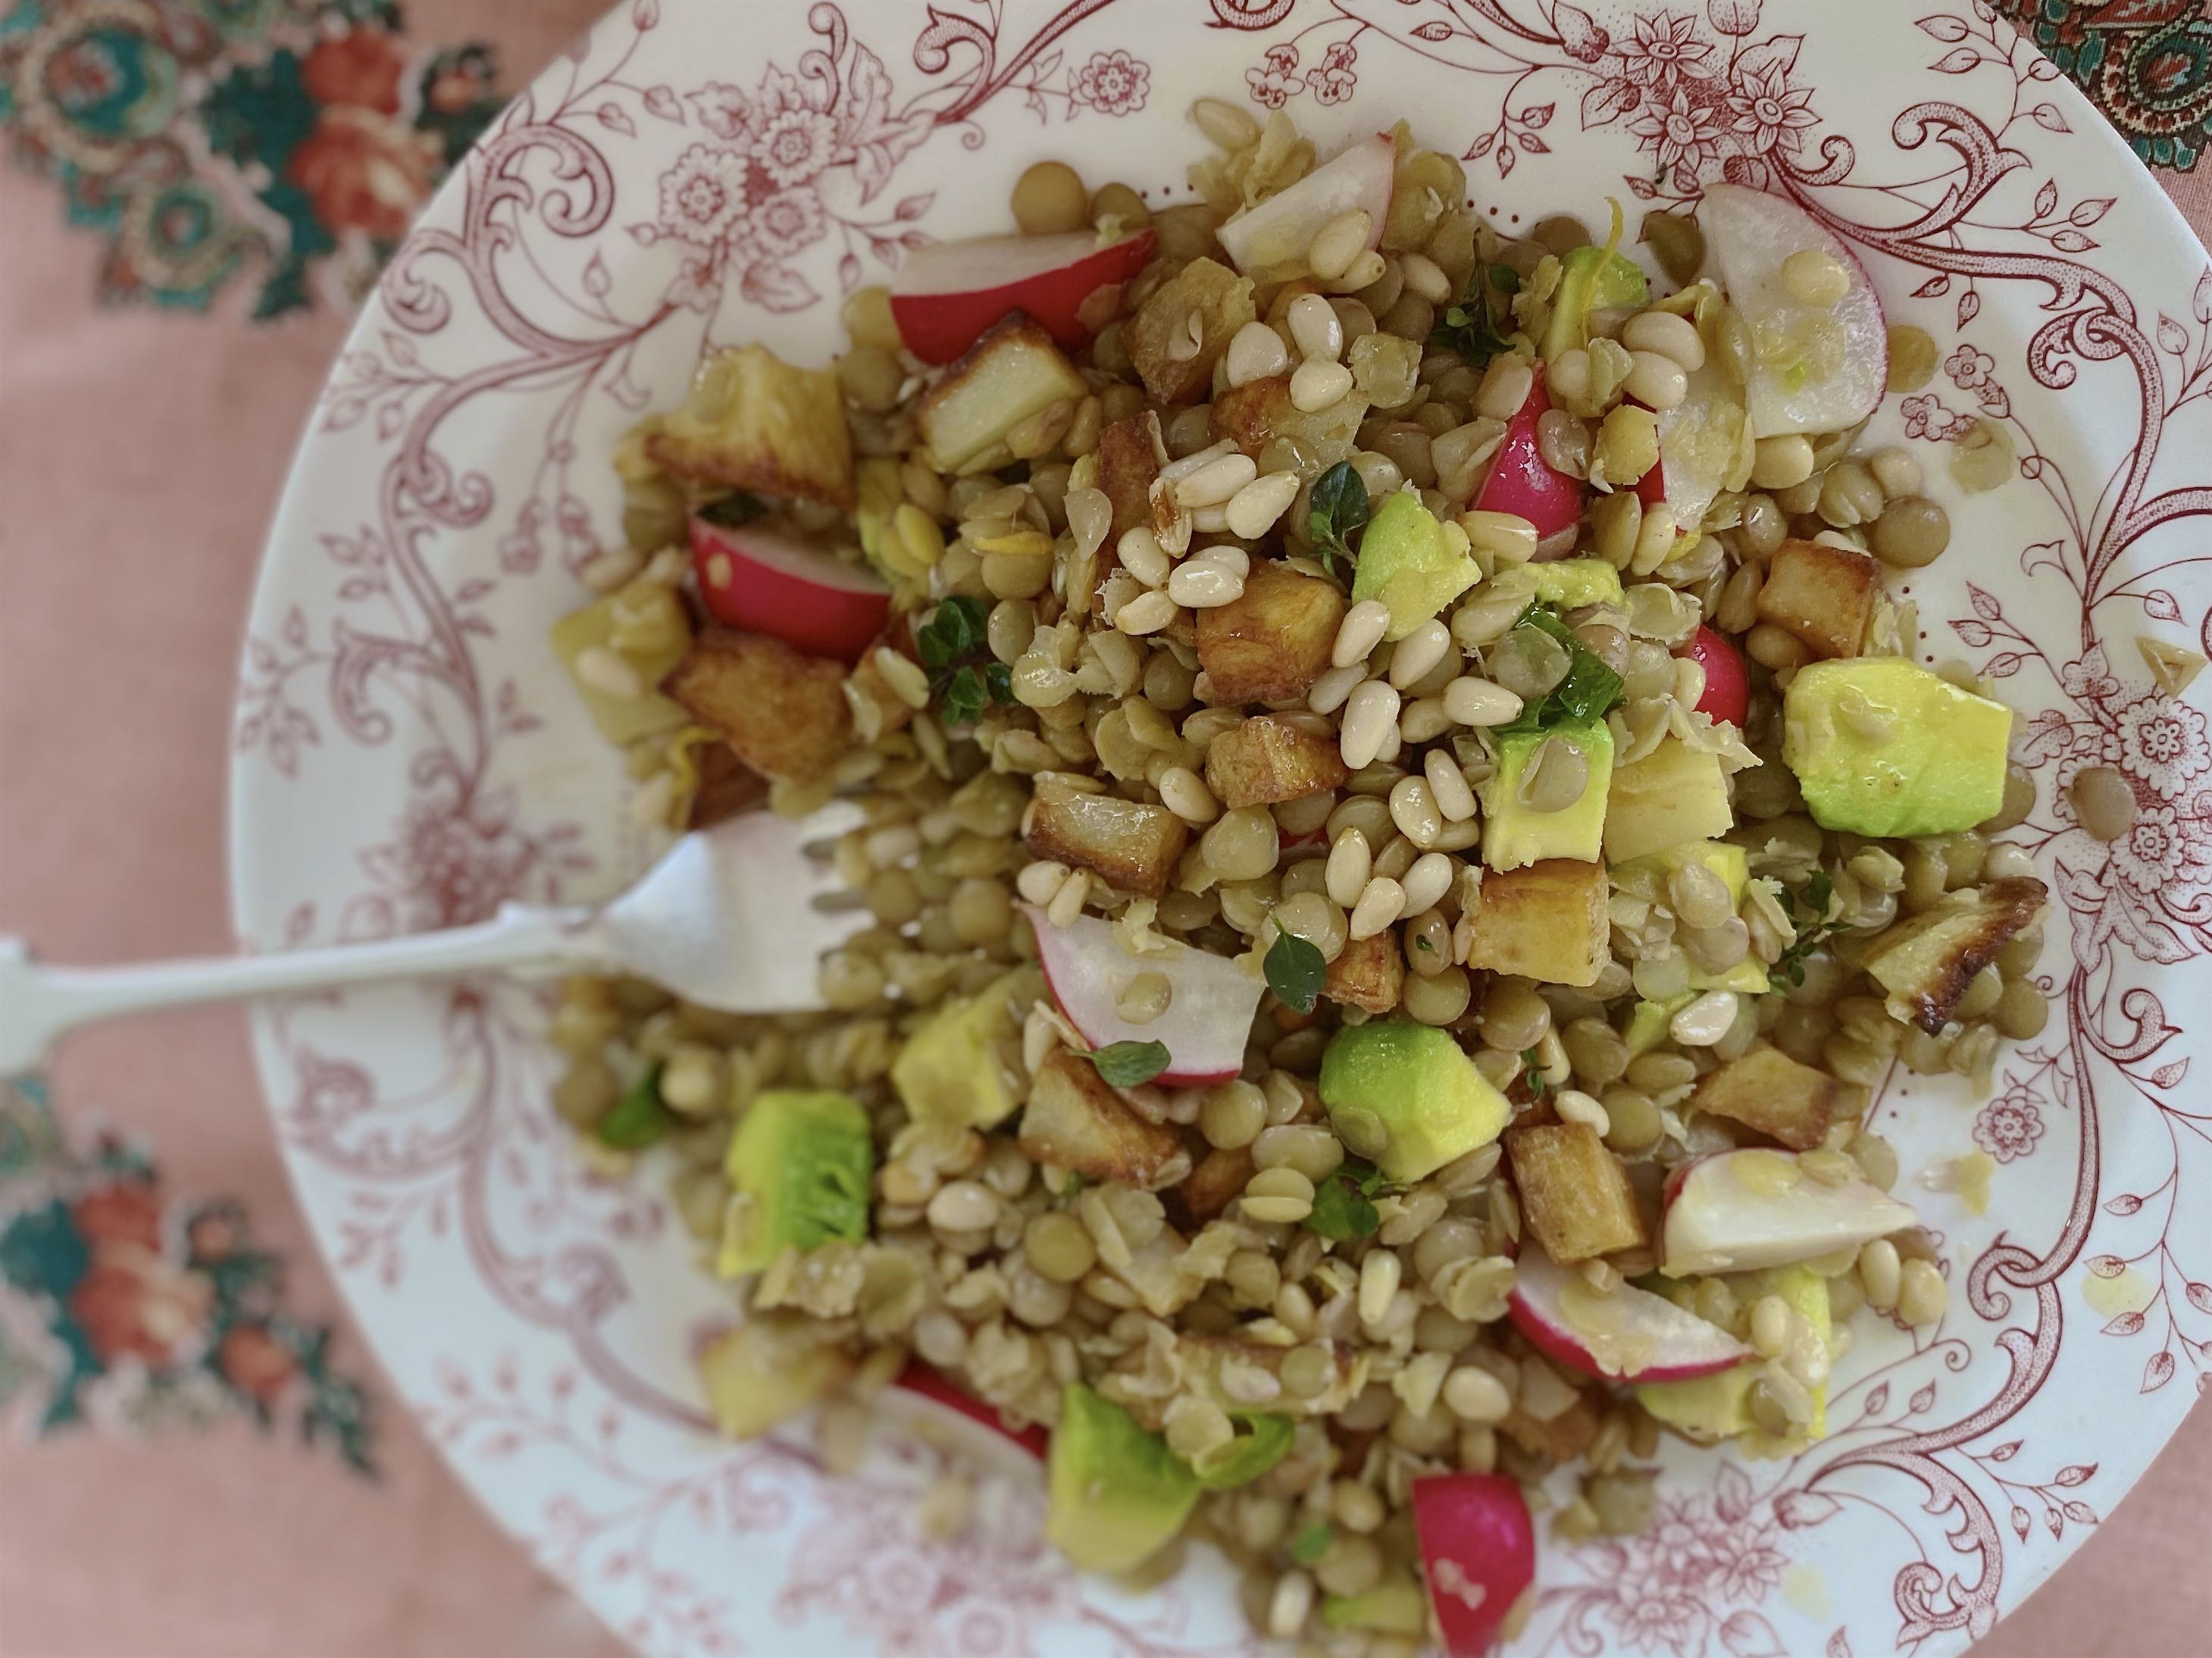
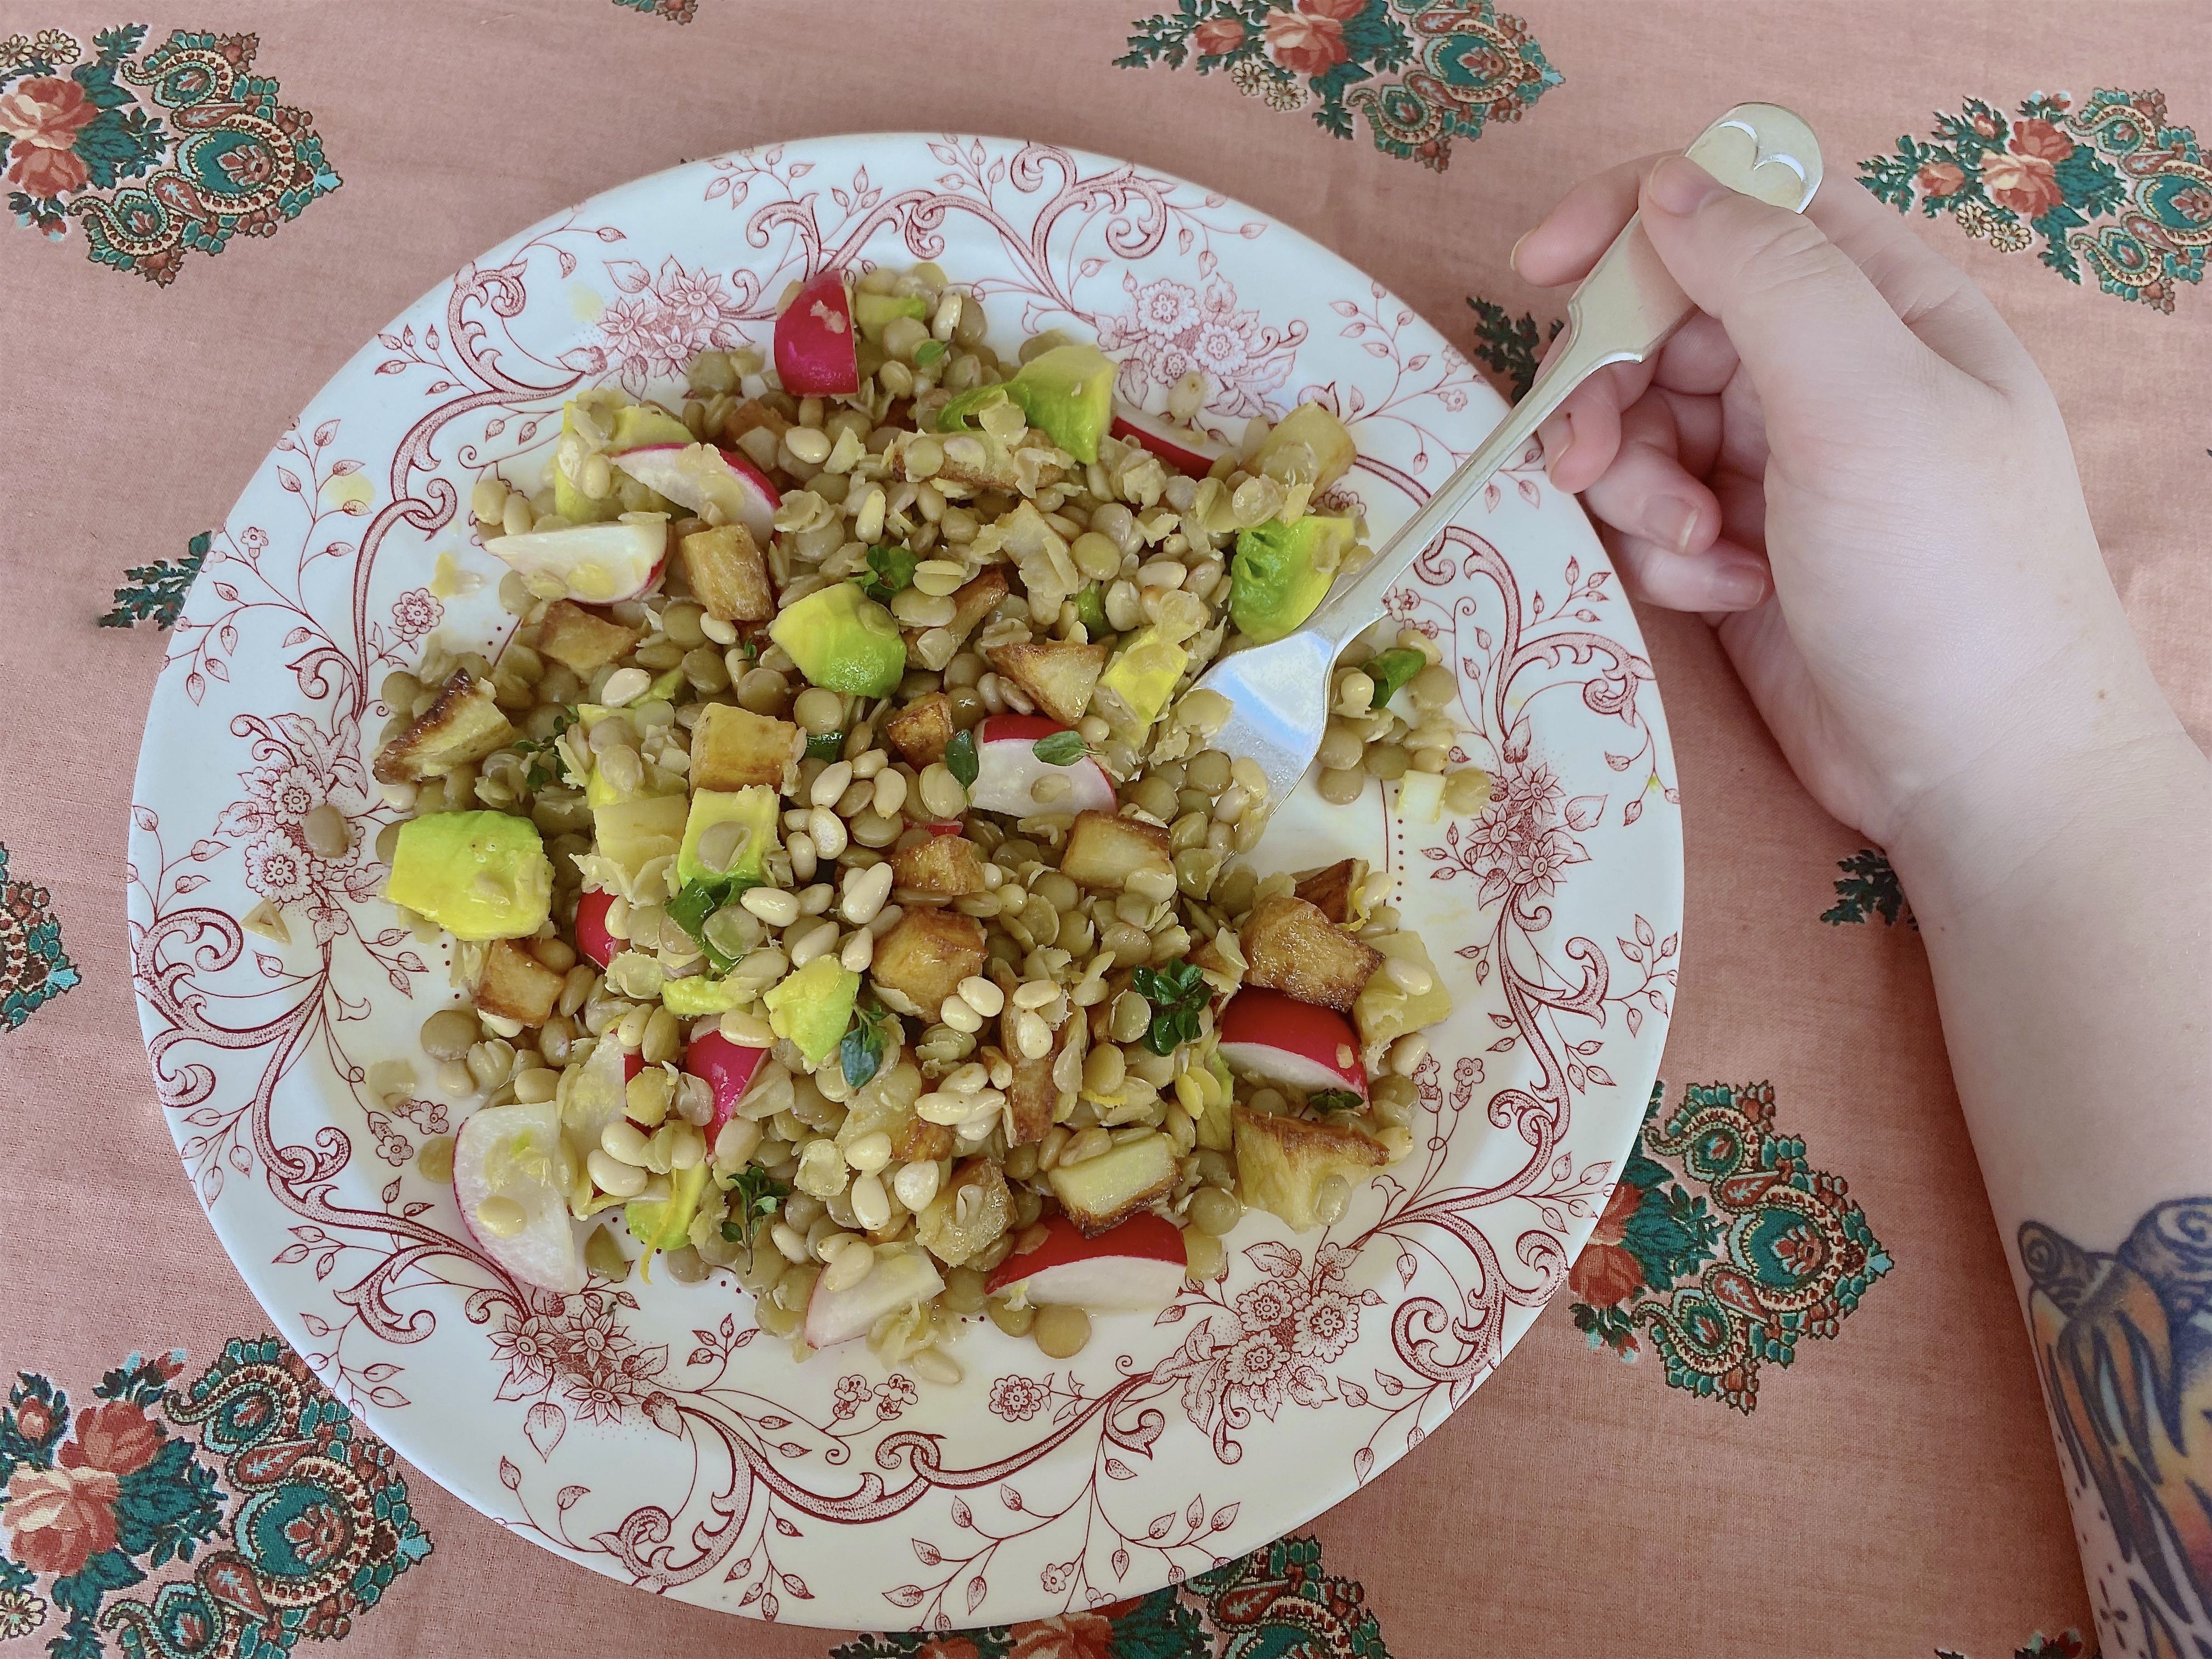
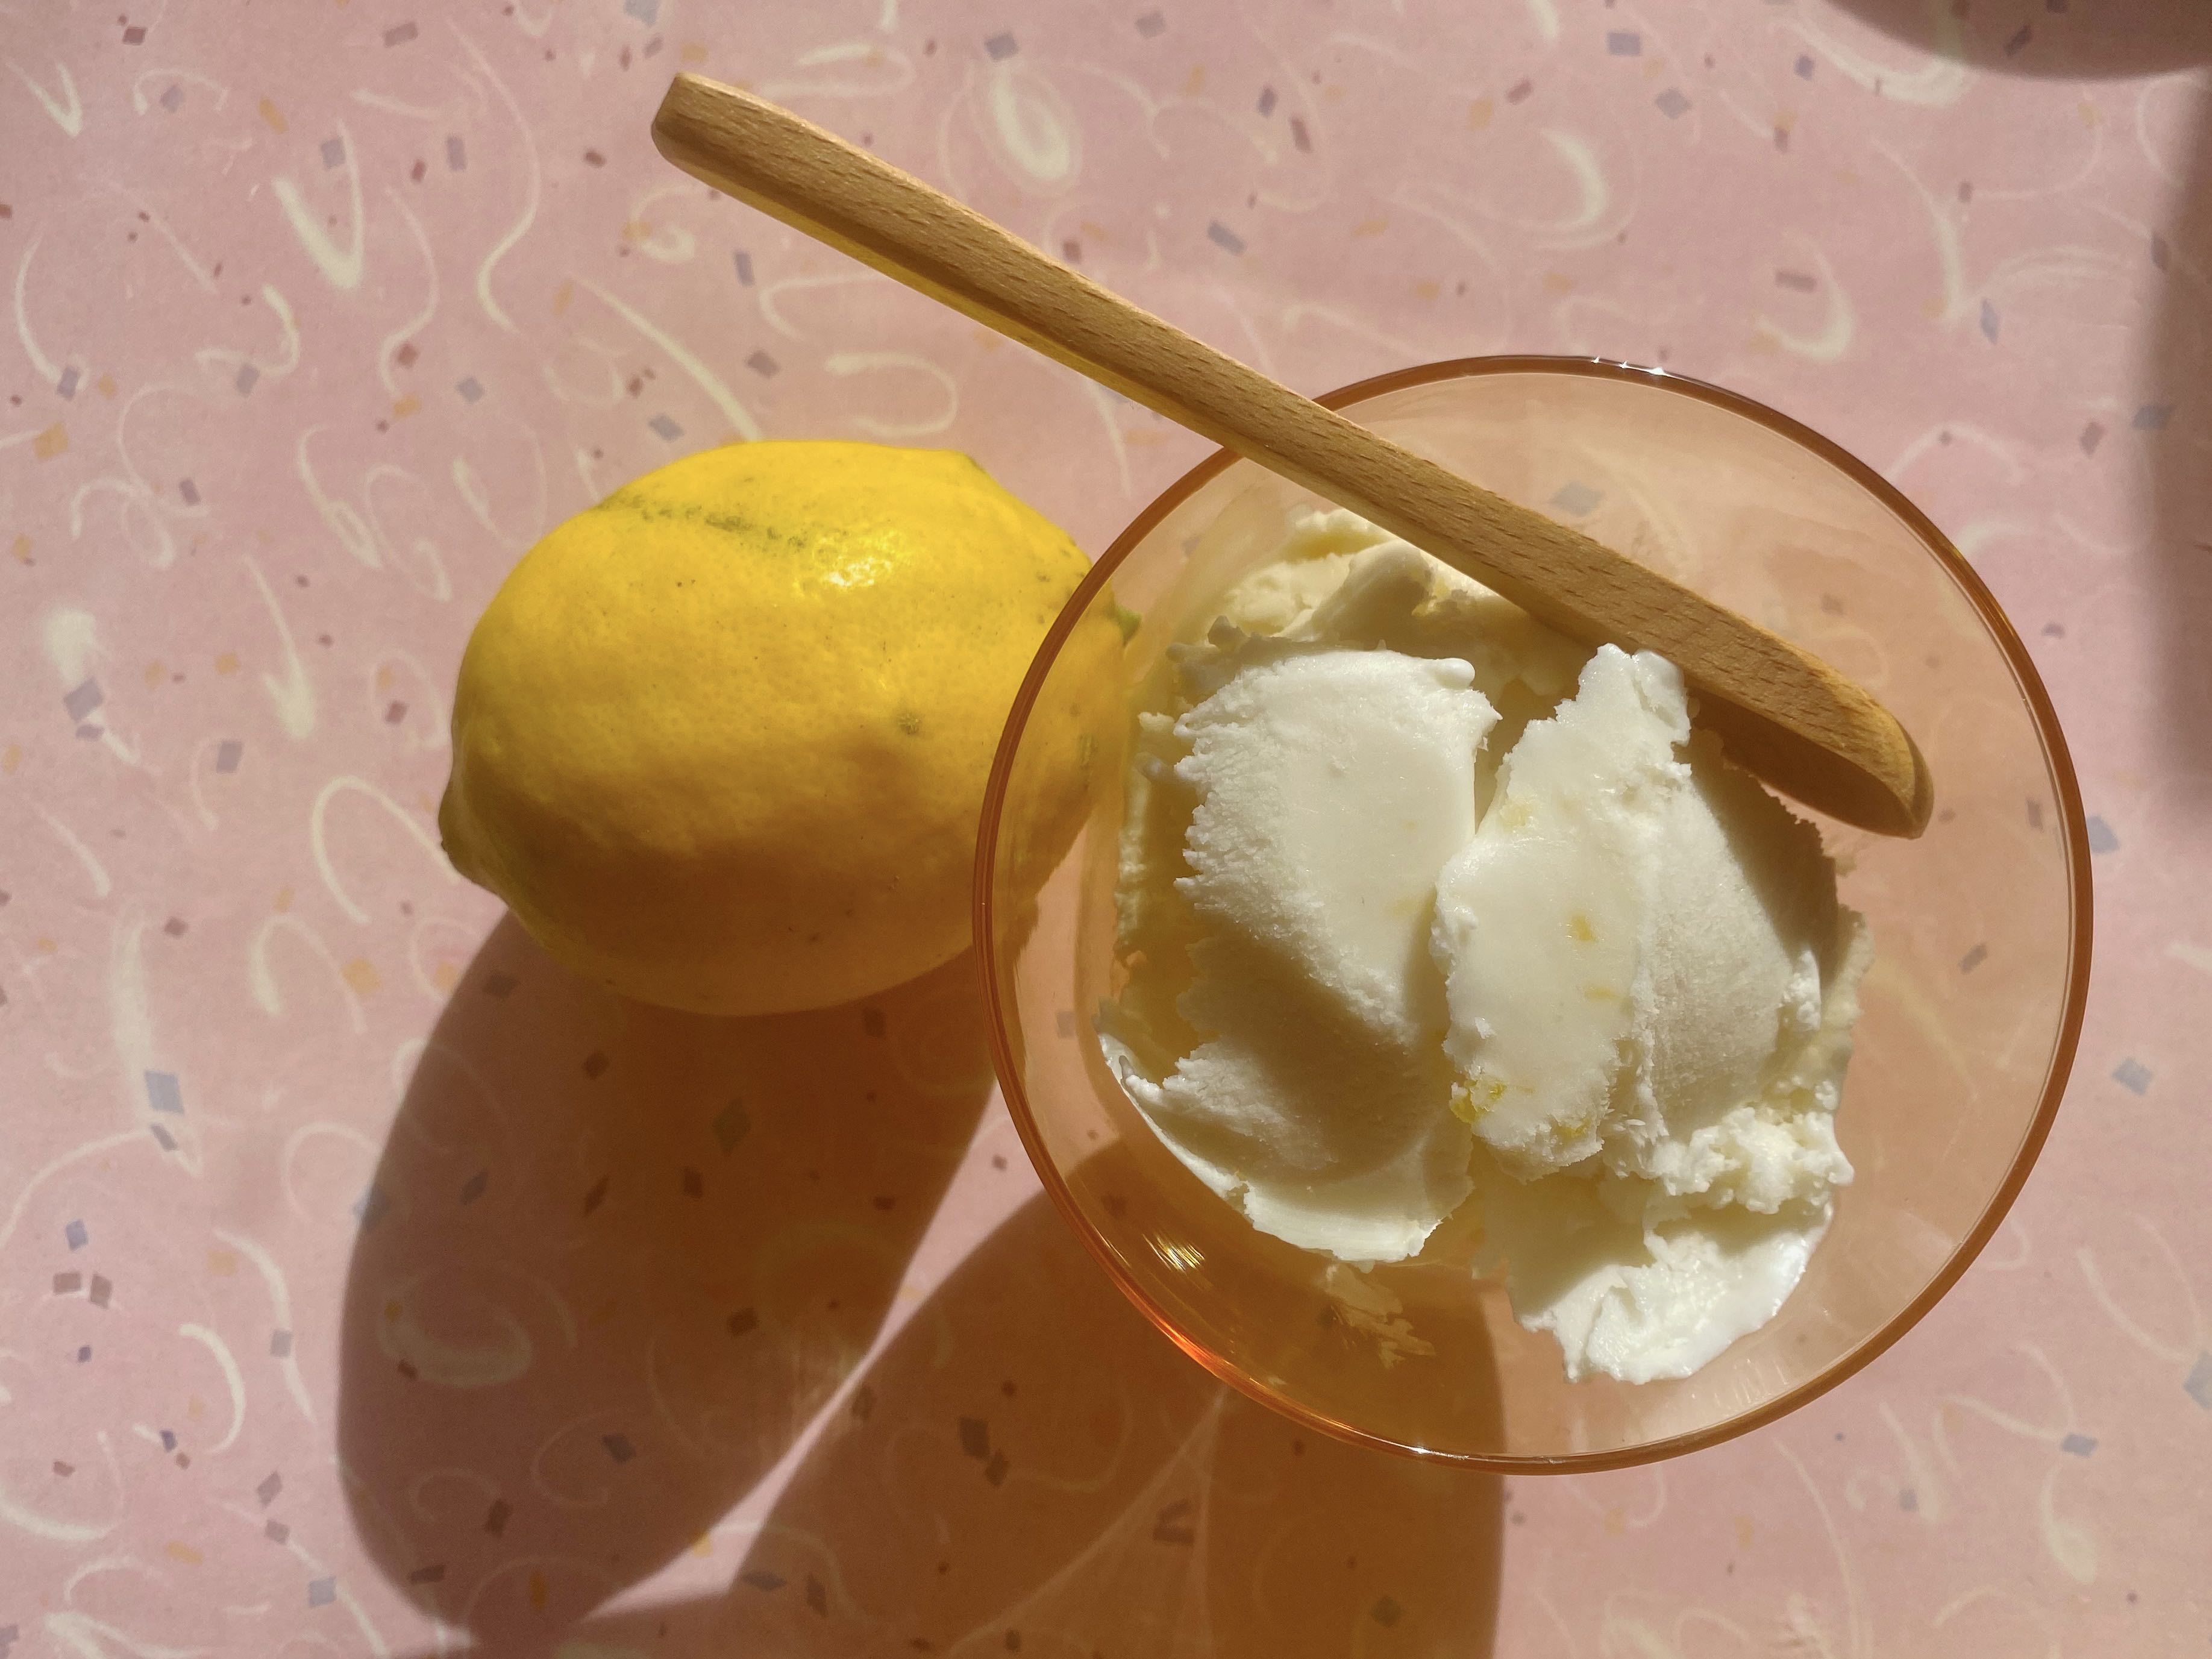
To make the also-fairly-instant sauce that goes with the gnocchi in the photos – which is adapted from a recipe of Nigella Lawson’s in her Forever Summer book – take a whole lemon, slice off the ends, the zest and most of the pith, chop the remaining flesh into pieces and throw it into a food processor along with some of the zest (flicking out any seeds that you see with the tip of your knife) and a very large bunch of parsley, process this into a lemony-green gunge, then add a pinch of sugar, a tablespoon of mushroom soy sauce, and at least three tablespoons of extra virgin olive oil and process again. Pour over your cooked gnocchi. If you have the energy and means, a few finely chopped garlic cloves and a piece of bread roughly chopped into large crumbs fried in olive oil is an excellent topping for all this.
Also feel free to refer to my original version of this recipe, which is served with a fantastically good mixture of fried Brussels sprouts, rosemary and pine nuts and which – as you can see by the similar-but-different quantities in the recipe – will hopefully reassure you that this gnocchi method is very forgiving and hard to get wrong. So many times I’ve made this I accidentally add the flour in with the mashed potato and boiling water and it still turns out quite edible.

music lately:
Take Me To The Other Side by Spacemen 3. Psychedelic and messy and delicious.
Here Comes The Hotstepper by Ini Kamoze. The way this used to fill the dancefloor with reliability at the school disco, a time that feels as distant and improbable as when I last occupied a dancefloor as an adult, to be honest.
Biology by Girls Aloud – this song is always on my mind anyway but after band member Sarah Harding died at age 39 on September 5 it’s been on my mind, well, even harder. Say what you will about Girls Aloud but when they were good they were incredible – their only peers of that jewel-tone cocktail dress era in terms of boundary-pushing yet utterly manufactured pop were the Sugababes (with producer Xenomania in the middle of that Venn diagram). Biology asks, what if a song was all choruses, featured adequate dancing, and was the best thing you’ve ever heard? (And my heart is about as heavy as it can get with the loss of actor Michael K Williams today; no more bad news like this, I beg.)
Losing My Mind, from Sondheim’s musical Follies, performed here by the late Marin Mazzie – oh, since we’re already crying – “you said you loved me – or were you just being kind?”
PS: If you like my writing and wish to support me directly, there’s no better way than by stepping behind the claret velvet VIP curtain of my Patreon. Recipes, reviews, poetry, updates, secrets, stories, all yours on a monthly basis. There’s no better time than right now – your support helps me to make all these blog posts!